


master6 wrote: Moderators are like Club Handicappers; I often think they are wrong, but I dont want the job.


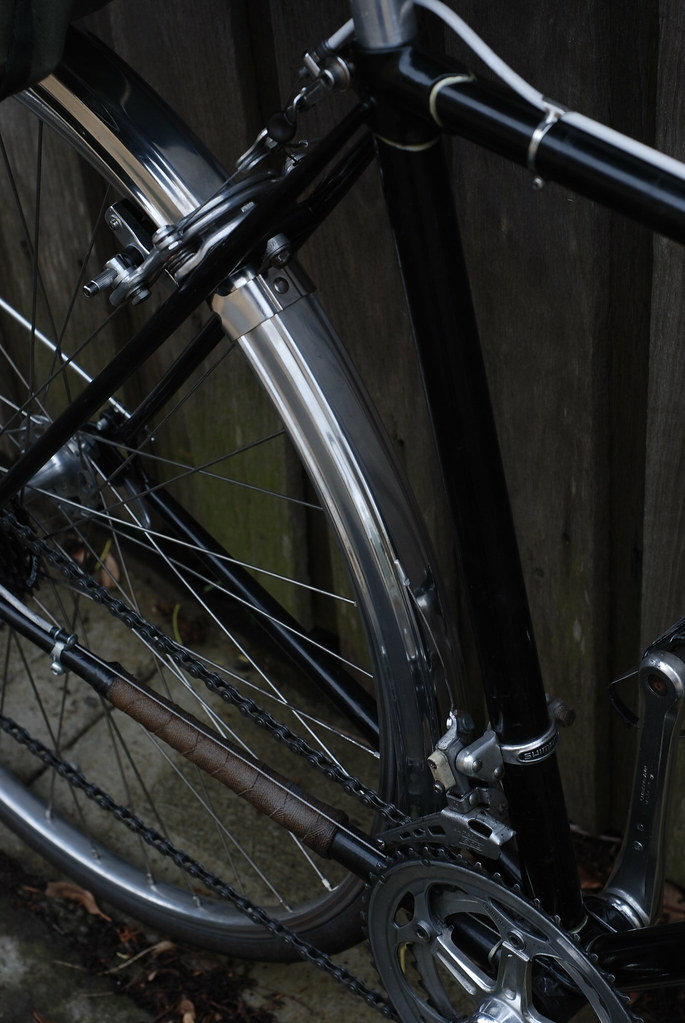
Yeah, i know that, but it looks like you've got 10cm of "extra" slack in the cable. No big deal, was just curious if it was a fashion you preffered of if there was a technical reason for some much cable.ghettro wrote:The brake levers have the cable coming out the top because they are old school non-aero brake levers, anything older than the 80's will typically have these.
oops misinterpreted you, yeah I have them a bit longer because I actually cut them shorter in the past and had them too short once I moved the levers down.brendan03 wrote:Nice, thanks for the run down.
Yeah, i know that, but it looks like you've got 10cm of "extra" slack in the cable. No big deal, was just curious if it was a fashion you preffered of if there was a technical reason for some much cable.ghettro wrote:The brake levers have the cable coming out the top because they are old school non-aero brake levers, anything older than the 80's will typically have these.
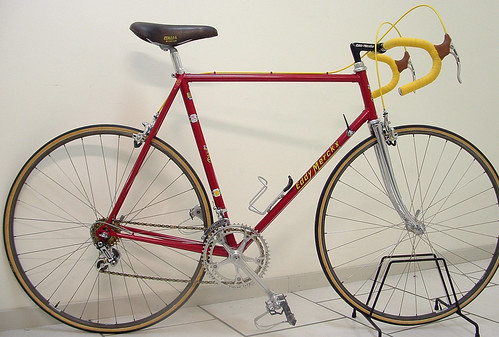
I spose an example of using less (more "standard" to my eye) would be something like:

tissues anyone?ghettro wrote: Hope you like it.
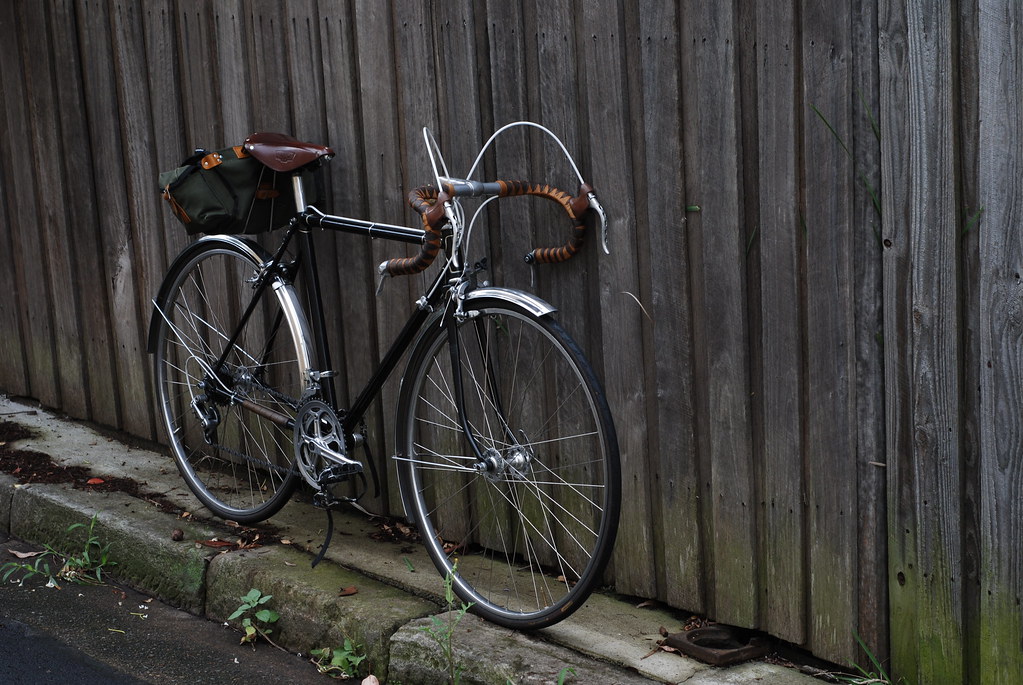
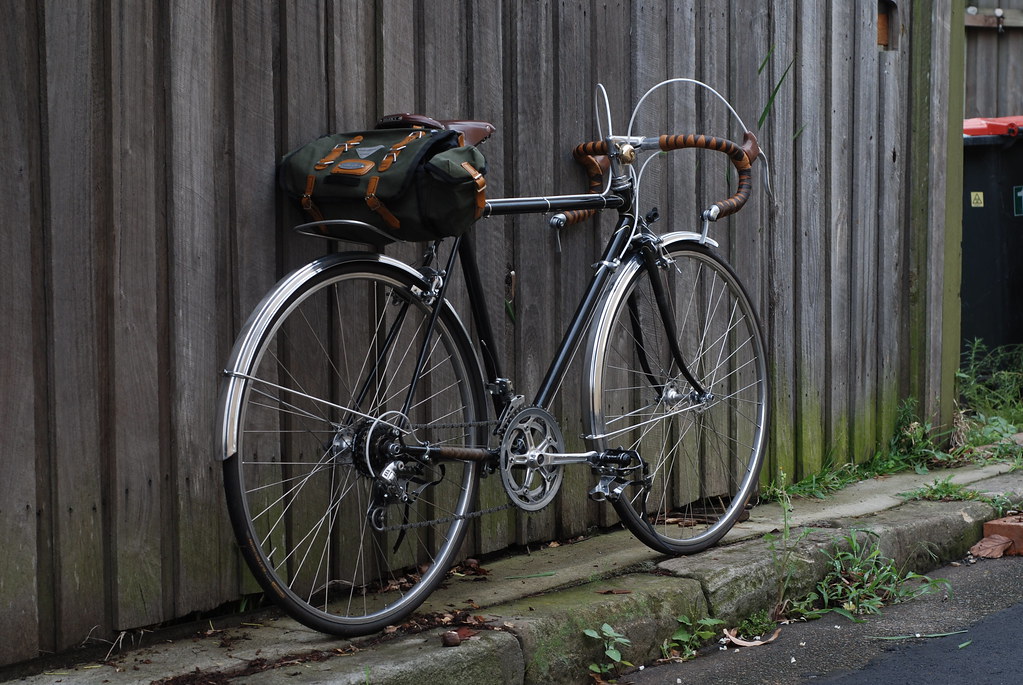
I never really liked having to take my hands off the bars for downtube shifters, particularly on fast descents or on uneven surfaces, also I just liked the style of randonneur/touring bikes which typically have bar end shifters for the reliability and simplicity compared to STI style levers, which were never an option because they would look a bit wrong on this bike.jaseyjase wrote:very nice indeed bud. How you finding those levers on the bar ends? ive never seen them before, cant imagine how comfortable they would be? But i guess its less movement to reach for the levers in comparison to having to reach on the stem or down tube?


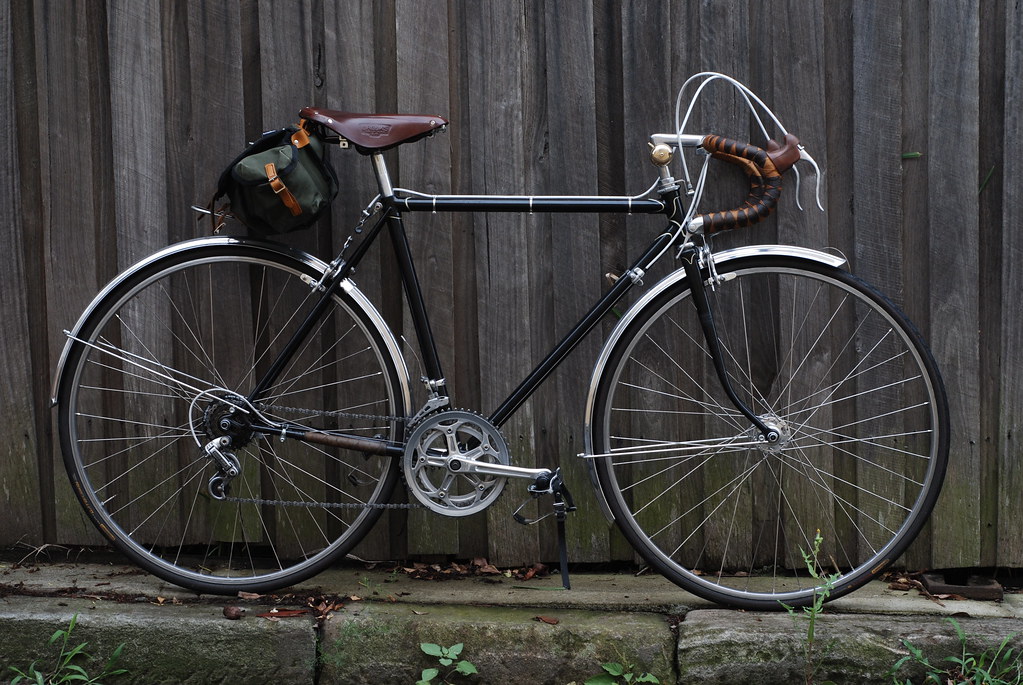
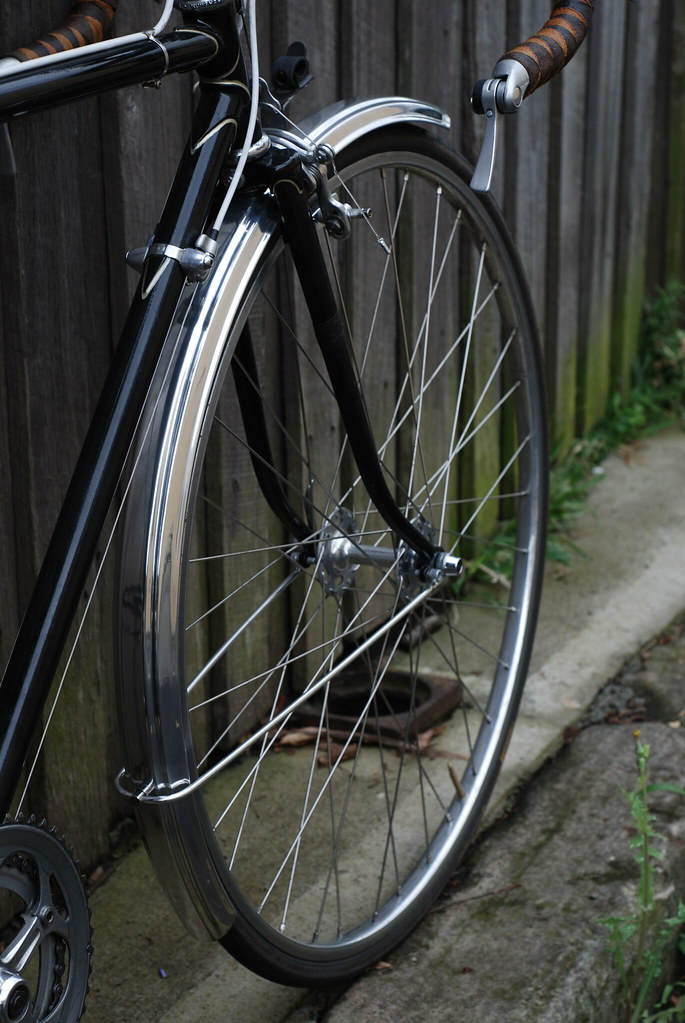
The Winner of the 2009 Sydney Tweed Ride prize for best retro bicycle was tricked out in a similar fashion.ghettro wrote:Just added my new carradice saddlebag, some mudguards, bar ends, re-wrapped the bars in harlequin pattern for the fifth time (don't ask) and then took some nice picsHope you like it.

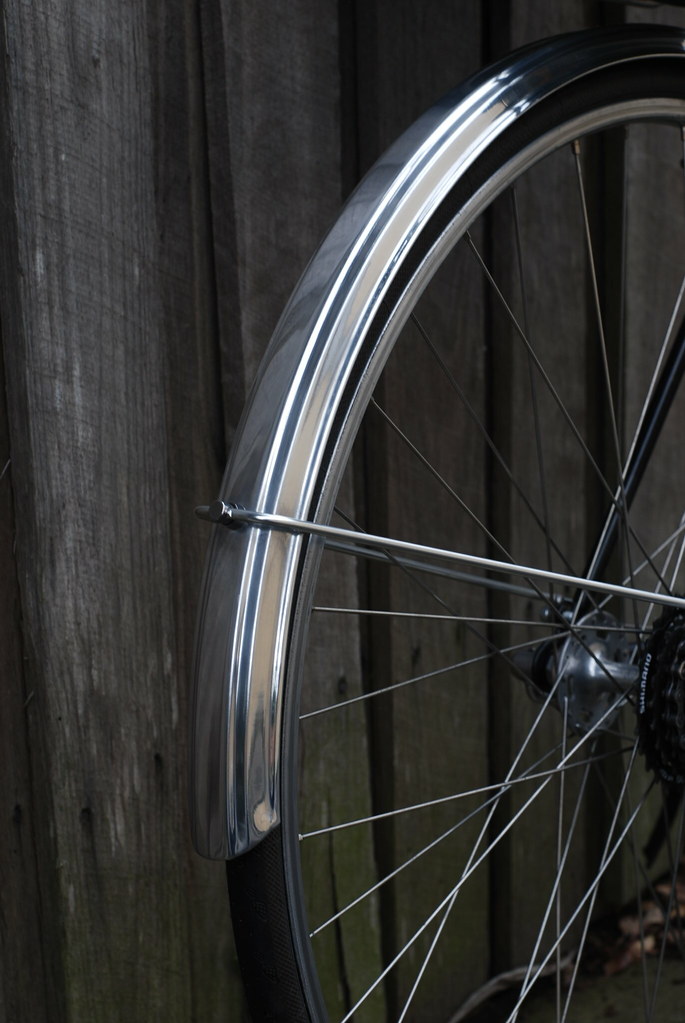
The fenders on there now are just cheapies, I managed to break the rear one in half a few times (repaired it with another old fender). Recently I ordered some polished fluted fenders from Velo-orange, waiting for them in the mail. I'll post some pics once they arrive and I install them.hartleymartin wrote:Just revisiting this thread. I was given a black road bicycle, and this thread has basically made me decide to go with the silver mudguards.


Users browsing this forum: Amazon [Bot]
