
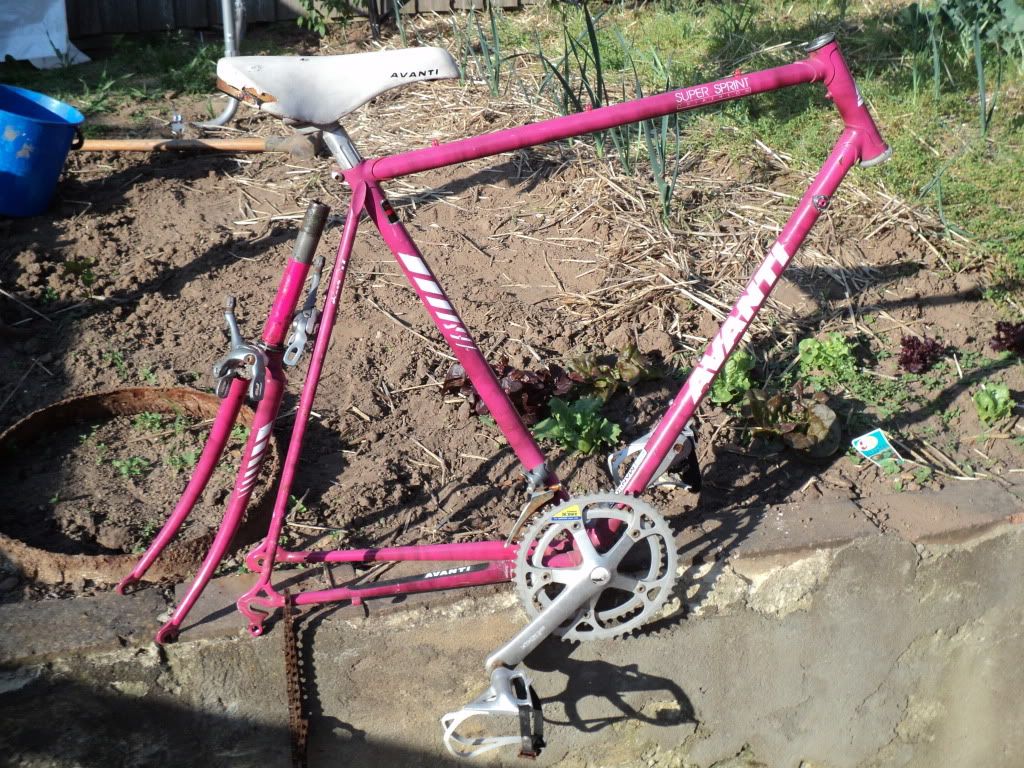
Nice work there, it looks goodaaron wrote: Whole story here
viewtopic.php?f=23&t=18866&hilit=cecil+walker
I had a look at that thread, it almost makes me glad I only found a low end Raleigh on the kerb...
Nice work there, it looks goodaaron wrote: Whole story here
viewtopic.php?f=23&t=18866&hilit=cecil+walker

bewdy, mate!

I've just been reading a bit of the story from the link you posted; man, you copped some flak!

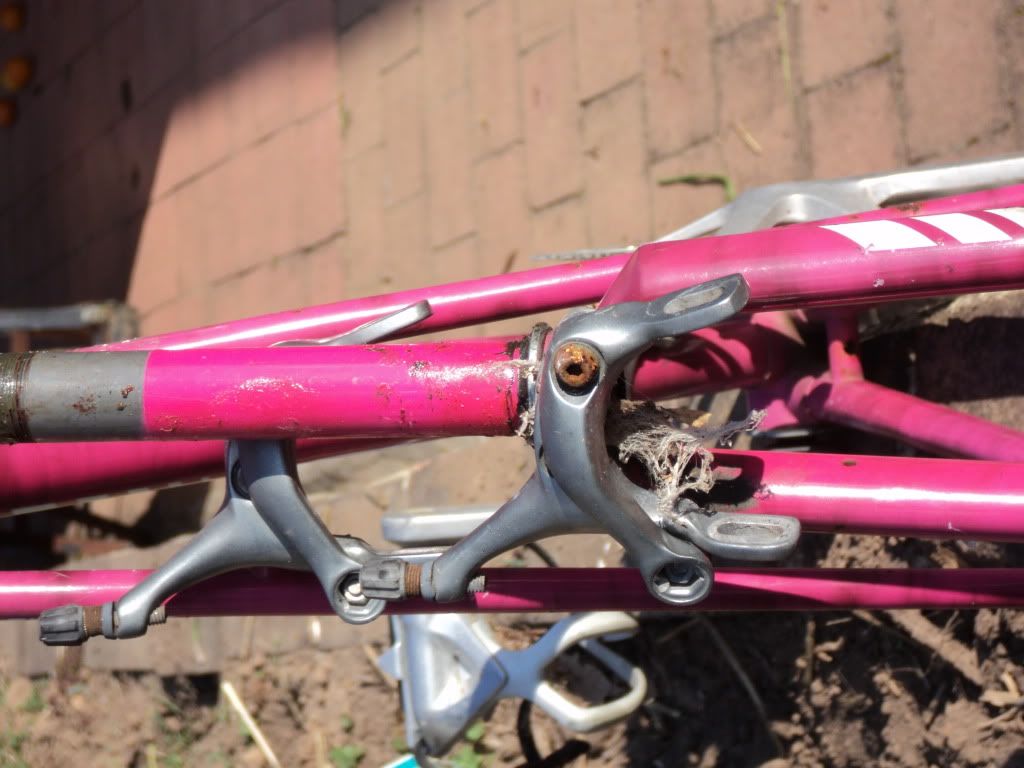
I find it odd he felt the need to strip all the paint off of the shed as well... :\sandberry wrote:I've just been reading a bit of the story from the link you posted; man, you copped some flak!
Regardless, that's a nice turnout, I particularly like that shade of green.


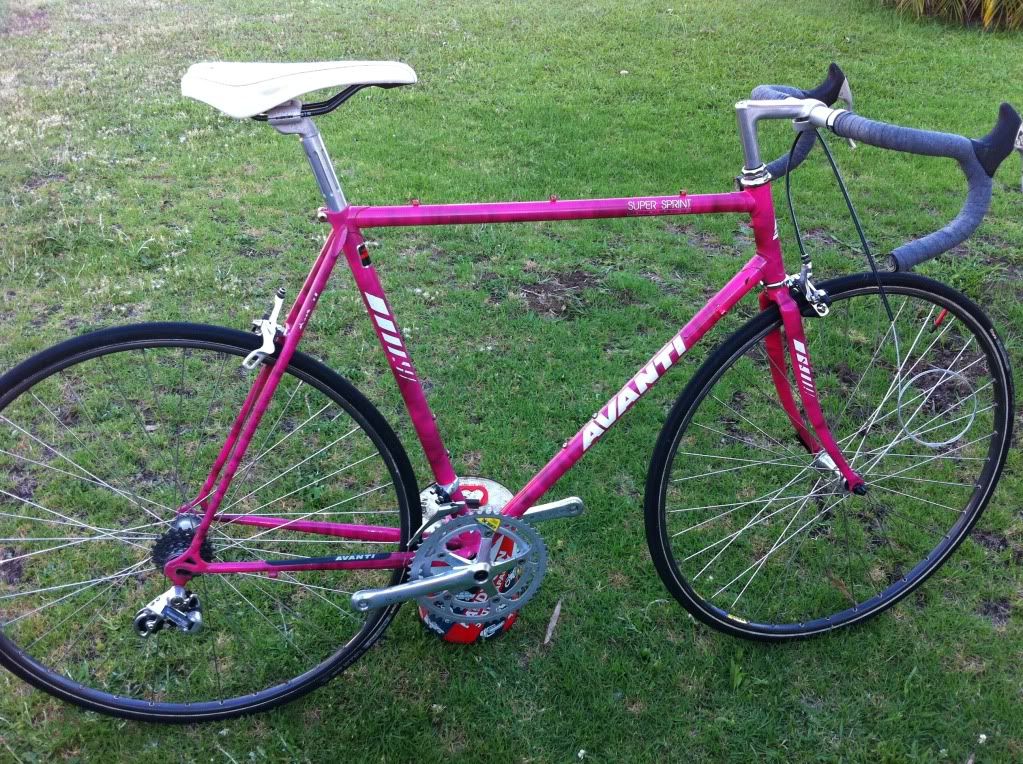
+1, i like it a lot more now, but it was alright before too. Either way, good work. And most importantly, is it nice to ride?mark field wrote: and look at the end result, well done. but between you and me, i quite liked the fixie version too


aaron wrote:stuff


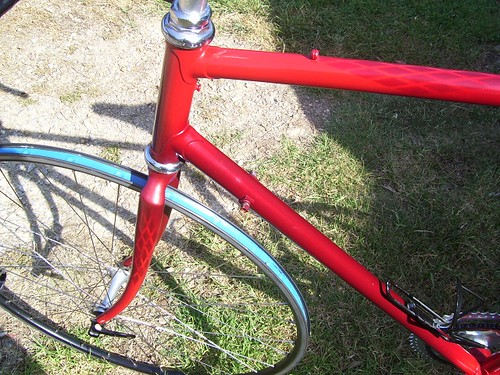
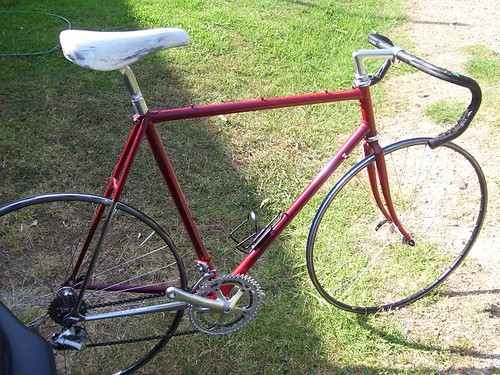
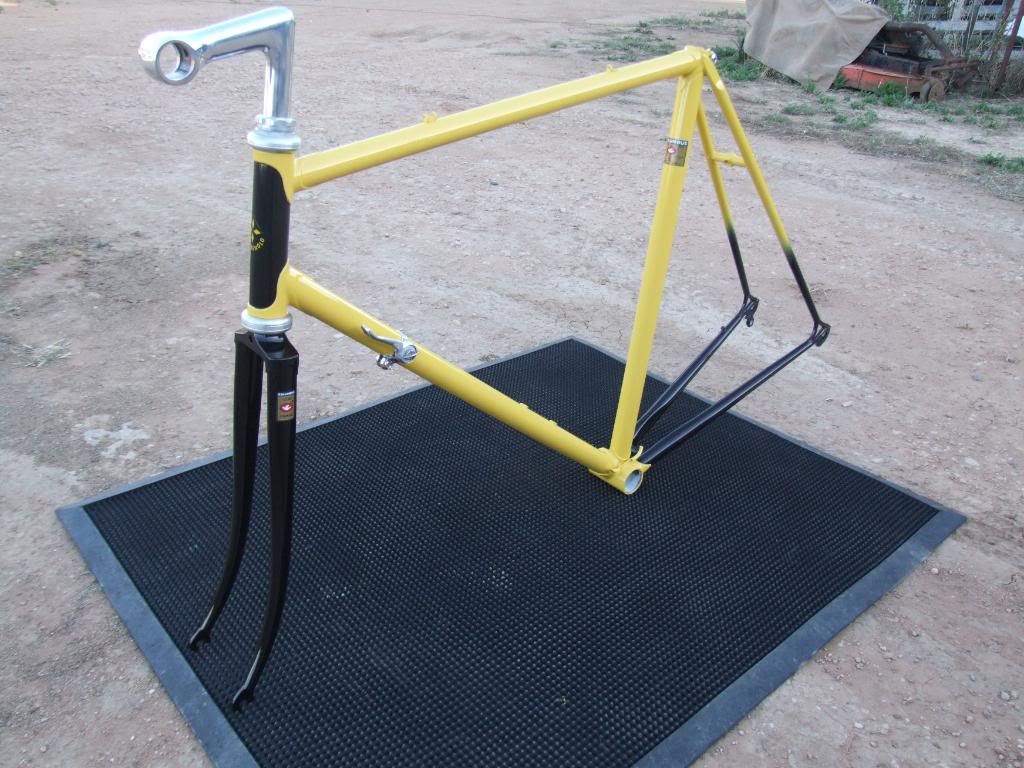
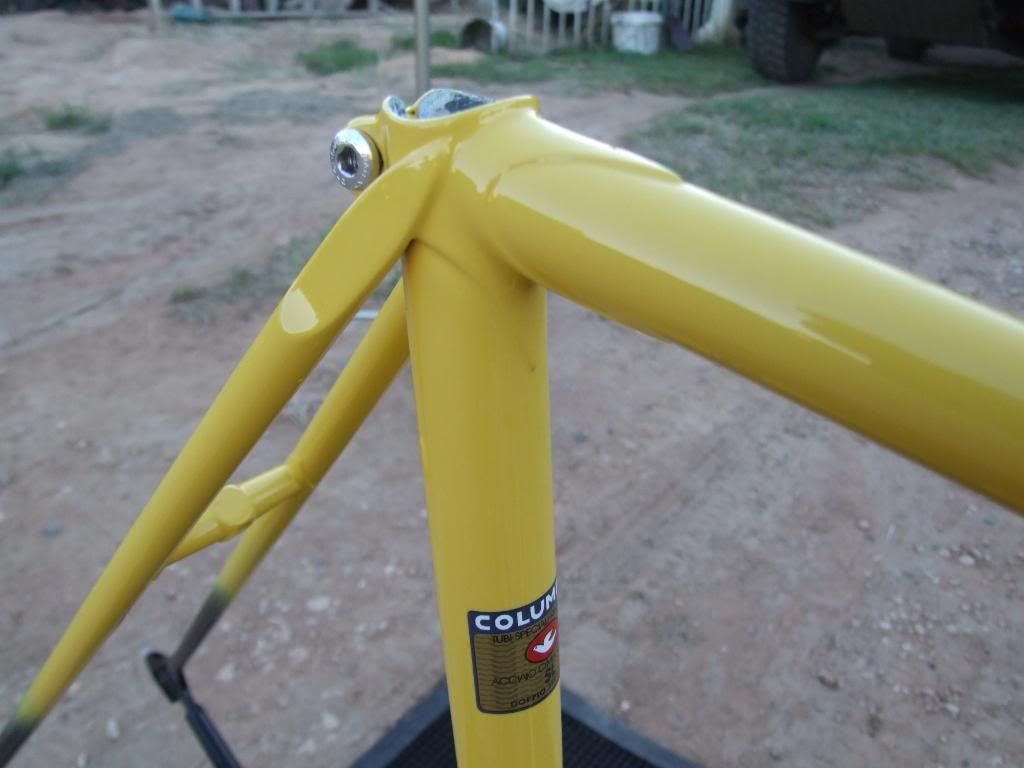
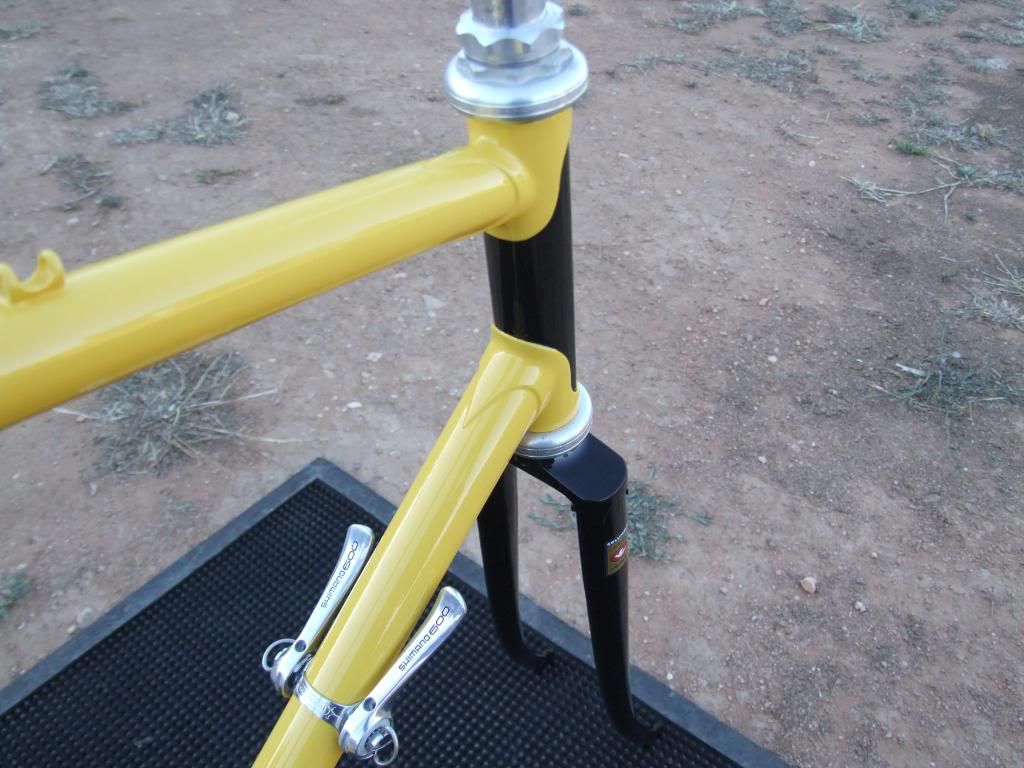
He's the man. Nice work by both of you.aaron wrote:Joe Cosgrove did all this for me.

And you should be VERY pleased! That's a great renovation - soooo nice!aaron wrote:Joe did the brazing, I did everything else.
You're being far too kind.aaron wrote:HitchHiker you did an awesome job.
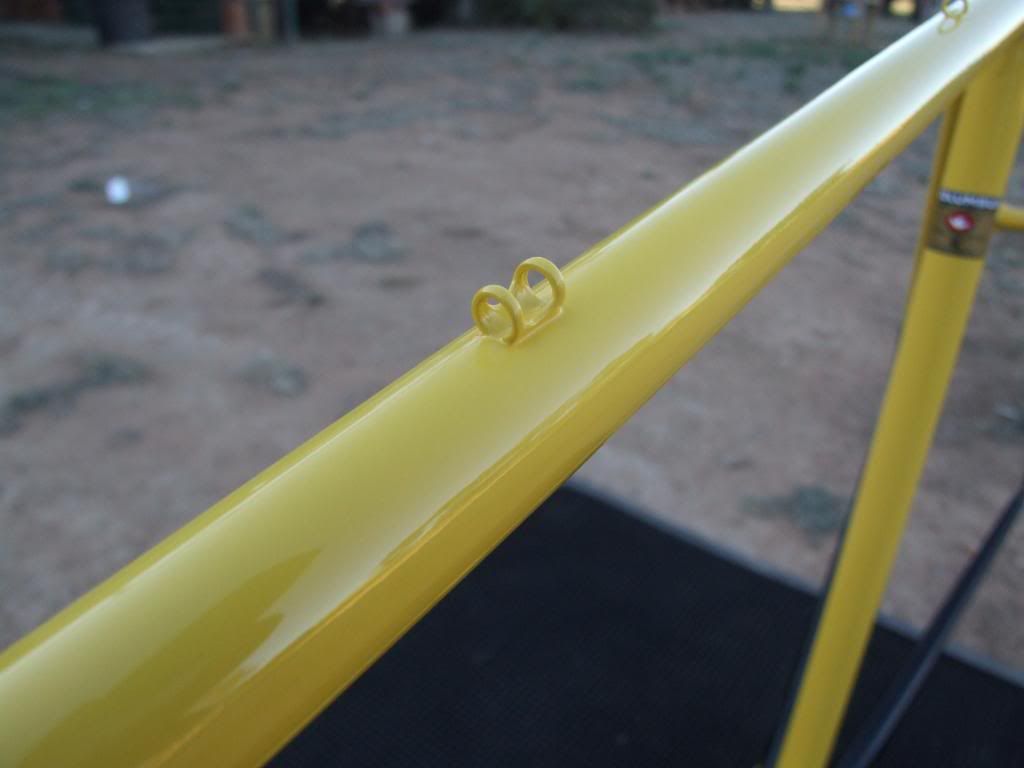
I love the mudguards.
Beautiful stuff.

That looks terrific. I think the colour scheme really suits the design. Congrats! Bet your fiance is chuffed. - Greglunar_c wrote:I'd better get in on this! I first started building bikes last year after my fiance expressed an interest in having a nice retro road bike.
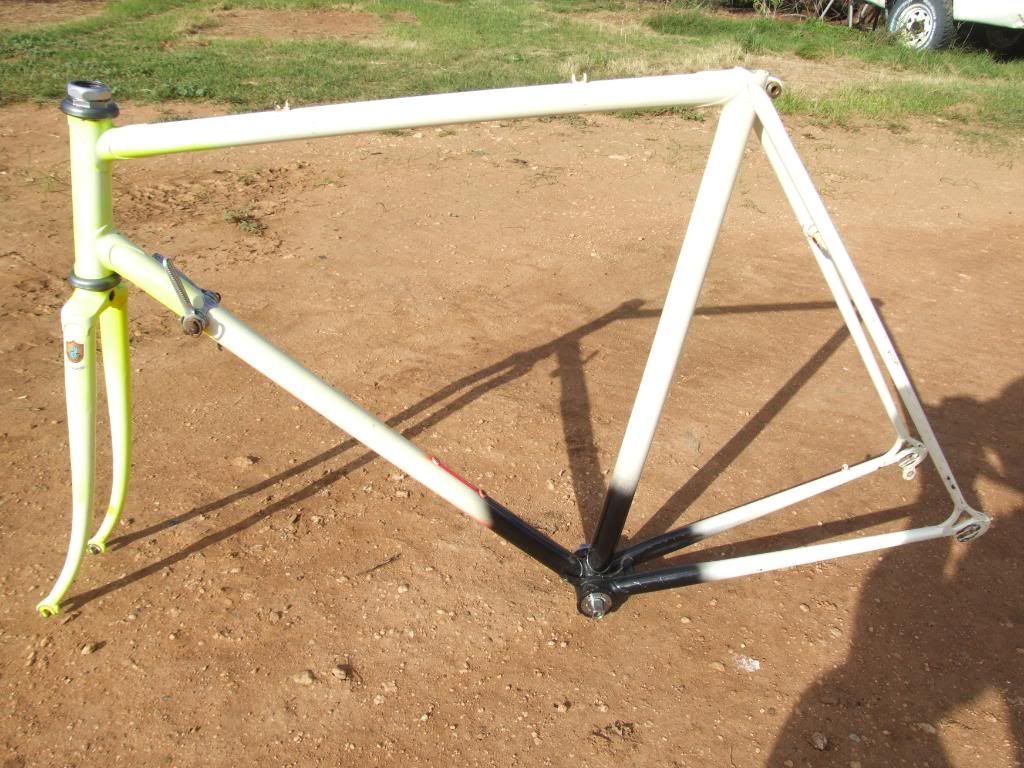
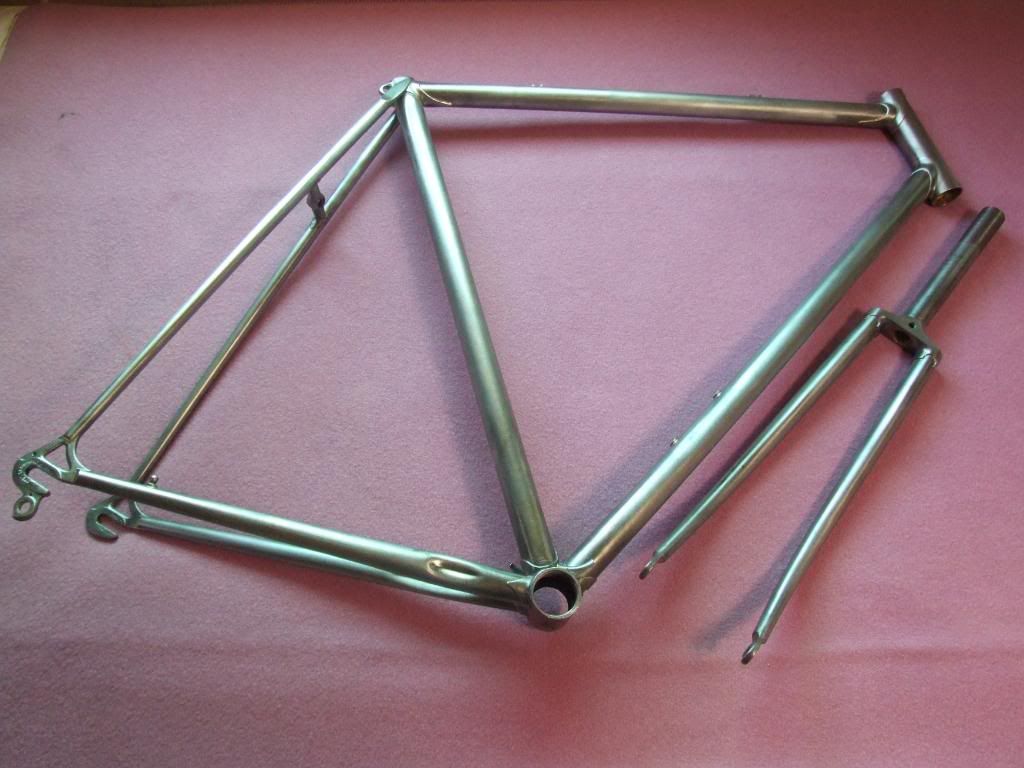
We found this old Seiko step through frame on the side of the road during a vergeside collection :
Along the way I learnt a lot by asking questions and making mistakes before finally ending up with a decent bike in the end :

Thanks a lot mate!Grog wrote:That looks terrific. I think the colour scheme really suits the design. Congrats! Bet your fiance is chuffed. - Greglunar_c wrote:I'd better get in on this! I first started building bikes last year after my fiance expressed an interest in having a nice retro road bike.
We found this old Seiko step through frame on the side of the road during a vergeside collection :
Along the way I learnt a lot by asking questions and making mistakes before finally ending up with a decent bike in the end :

Users browsing this forum: No registered users


