Page 5 of 16
Re: BEFORE AND AFTER PICS BY ALL RESTORERS
Posted: Tue Sep 06, 2011 10:27 pm
by LG
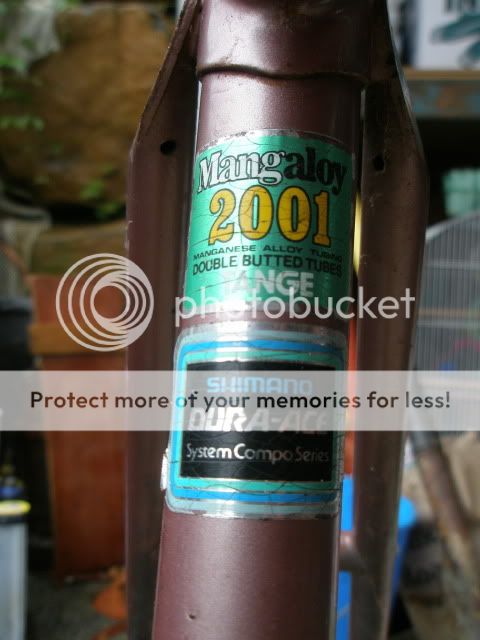
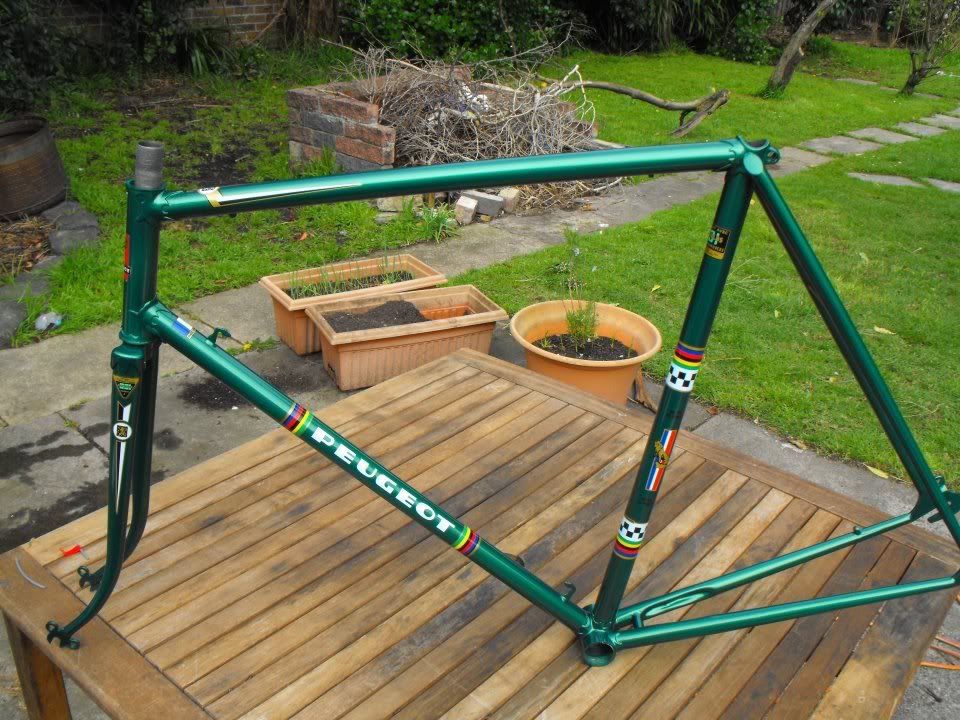
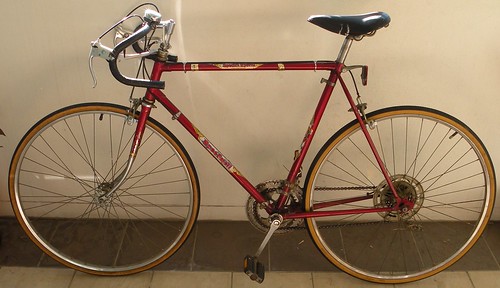
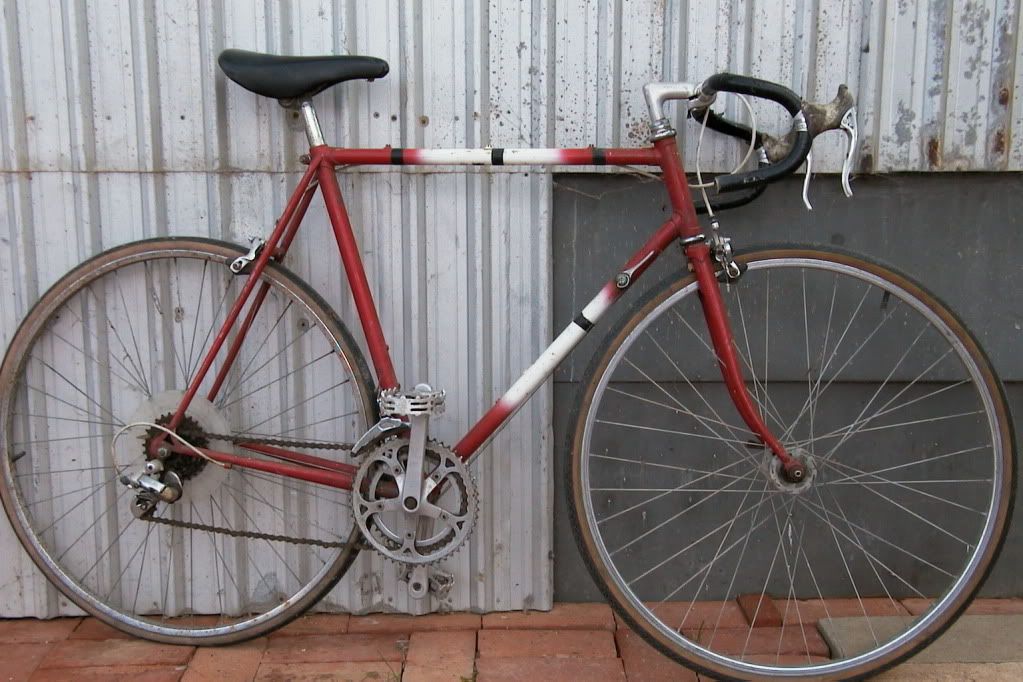
Frame before:
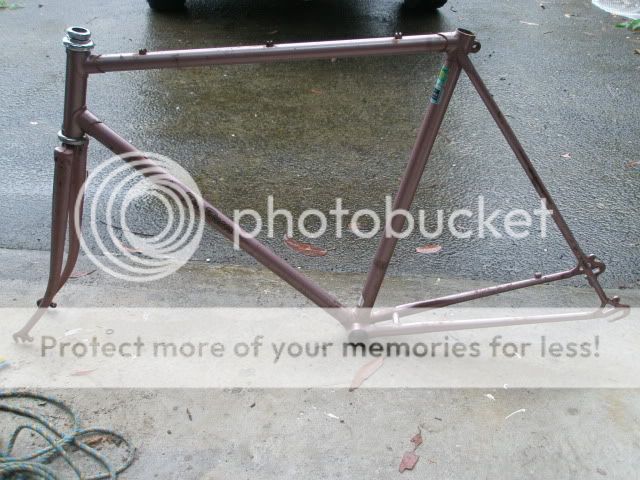
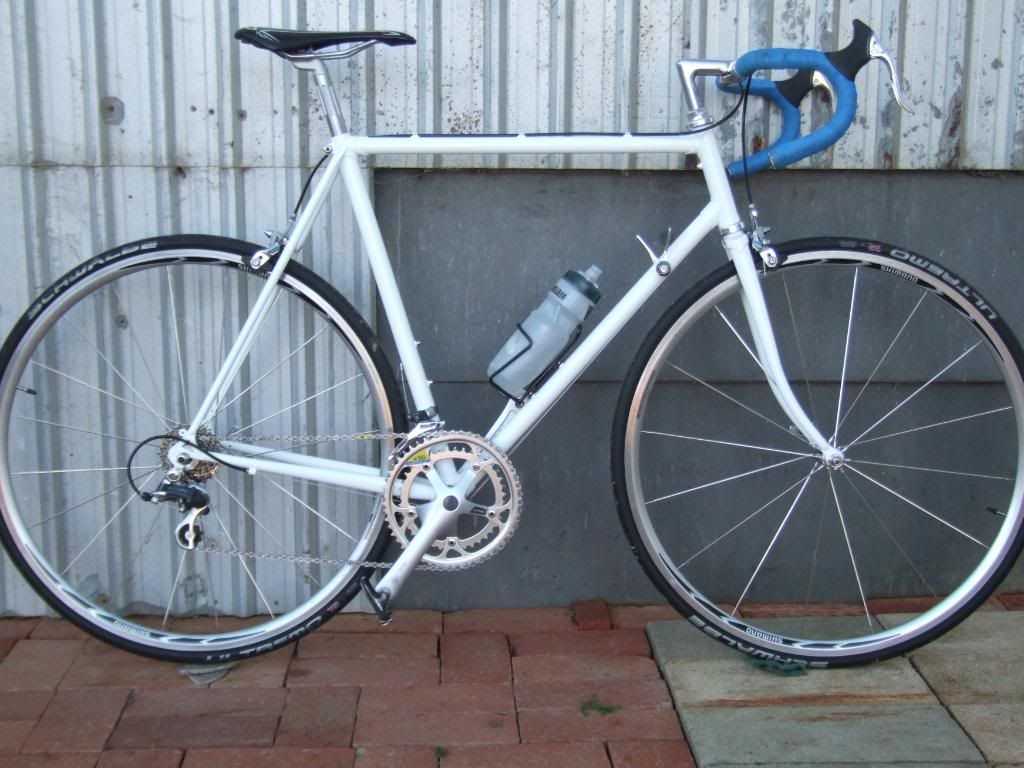
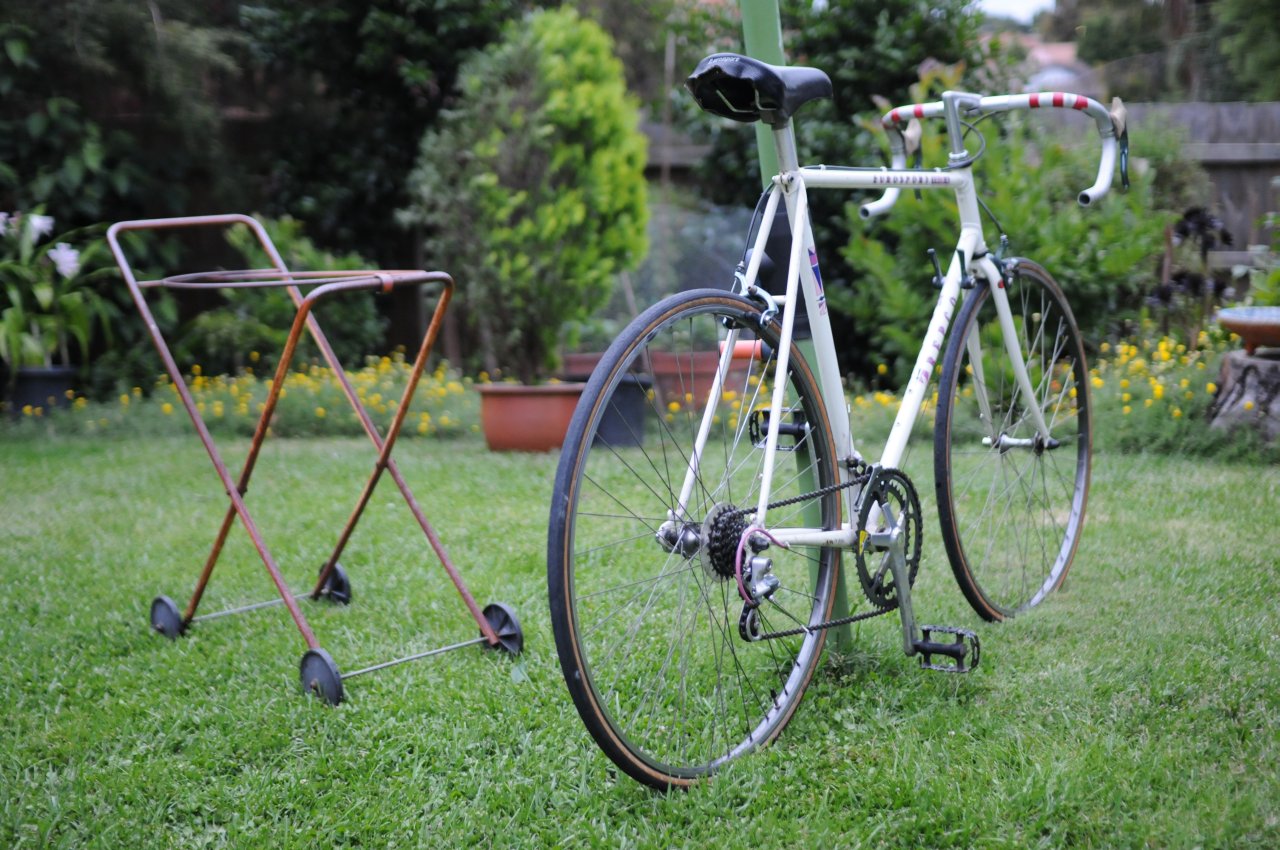
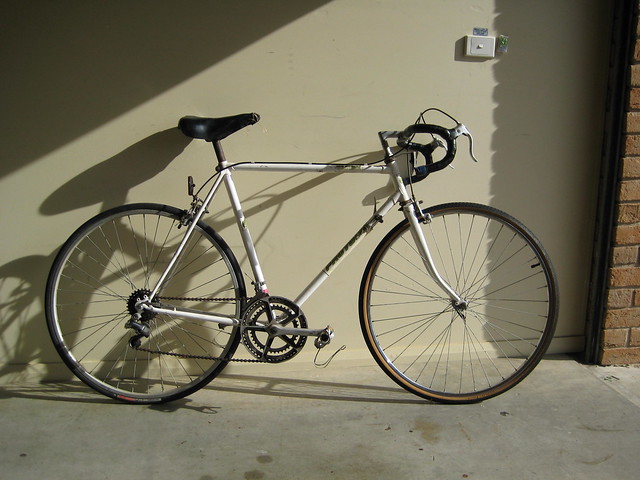
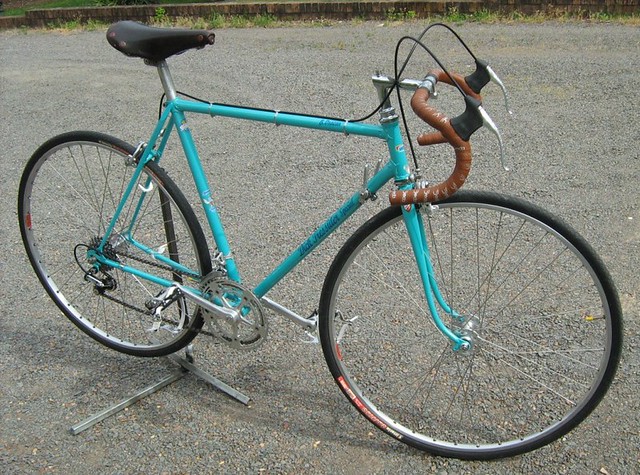
Bike after:


The original stickers mention dura ace, but it had some 600ex components and generic brakes when I got it. Bike is now my commuter with 600ex drivetrain and brake levers, early shimano friction bar end shifters, weinmann centre pulls given the distance needed to reach the rims, suzue hubs, 27inch wolber modele 58 rims and the obligatory brooks saddle.
Re: BEFORE AND AFTER PICS BY ALL RESTORERS
Posted: Sun Sep 11, 2011 7:45 pm
by Evetsllub
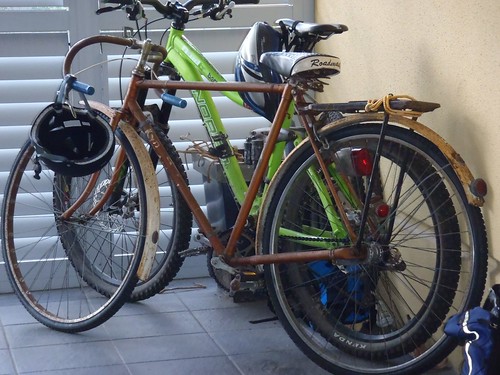
Before:
After 1 (18 months ago):
After 2 (12 months ago):
After 3 (now):
Re: BEFORE AND AFTER PICS BY ALL RESTORERS
Posted: Sun Sep 11, 2011 8:33 pm
by hitchhiker
[quote="LG"]Frame before:
[
Nice work. I've got a frame in the shed that looks very similar to your before picture.
Mine is unbranded and has a Tange 900 sticker, although the condition of the sticker makes me suspect it isn't original
Your build has given me some ideas....after I finish the Raleigh of course...
Re: BEFORE AND AFTER PICS BY ALL RESTORERS
Posted: Sun Sep 11, 2011 9:51 pm
by Clydesdale Scot
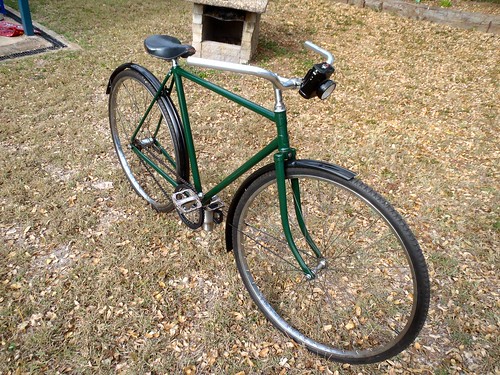
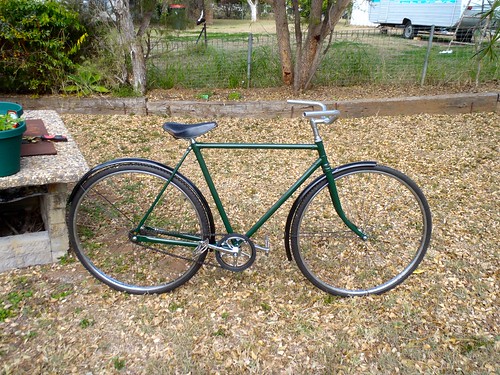
the latest project, a Ricardo
and as at 9 Sept 2011
a temp setup for our
Hérocia ride held on 9 Sept 2011, with up to 24% gradient on damp dirt roads.
Shimano Nexus 8 speed IGH with twist shift changer, drop bars, brake levers will soon be removed and replaced with a SA 3 speed AW hub, SA quadrant shifter, north rd style shallow drop celluloid covered bars with suitable flat bar brake levers.
It will keep the recovered Brooks saddle frame which has been modified with a reshaped cantleplate.
Re: BEFORE AND AFTER PICS BY ALL RESTORERS
Posted: Sun Sep 11, 2011 9:55 pm
by damhooligan
Not my bike, but I helped with the restoration.

Before :
a 'a little bit ' rusty...

After :
The color was darker then original by choice of owner.
There are more pictures on the book ;
http://www.facebook.com/#!/profile.php? ... 0031921943
Re: BEFORE AND AFTER PICS BY ALL RESTORERS
Posted: Mon Sep 12, 2011 8:27 am
by WyvernRH
That's bit naughty, you have put 531 stickers on what looks very much like a standard Peugeot tubed frame, you can see the tubing sticker in the before picture.
I hope the guy is going to take them off before he sells it....
Richard
PS Nice paint job tho'
Re: BEFORE AND AFTER PICS BY ALL RESTORERS
Posted: Tue Sep 13, 2011 6:03 am
by damhooligan
WyvernRH wrote:
That's bit naughty, you have put 531 stickers on what looks very much like a standard Peugeot tubed frame, you can see the tubing sticker in the before picture.
I hope the guy is going to take them off before he sells it....
Richard
PS Nice paint job tho'
I know, i asked more then once , you sure you want then there ?
And they are now under the clear , and not removable, but he is not planning of selling it,
he wants to ride it..

Re: BEFORE AND AFTER PICS BY ALL RESTORERS
Posted: Tue Sep 13, 2011 10:51 am
by rustychisel

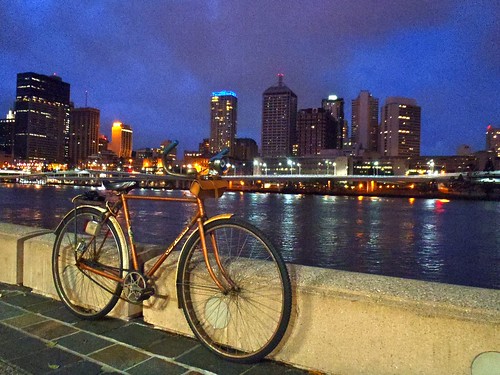
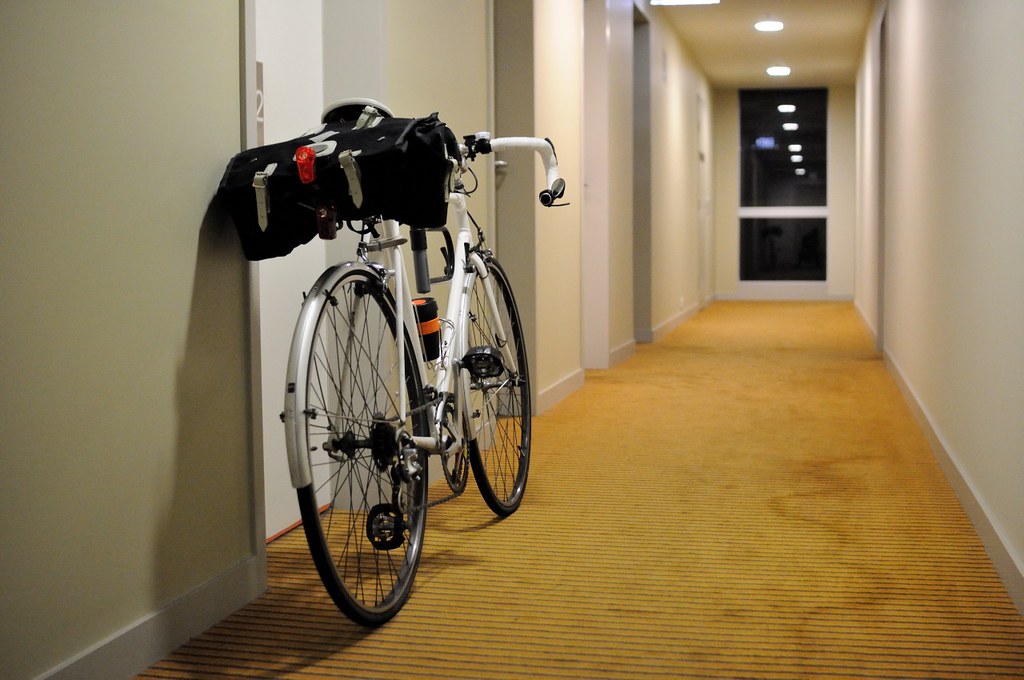
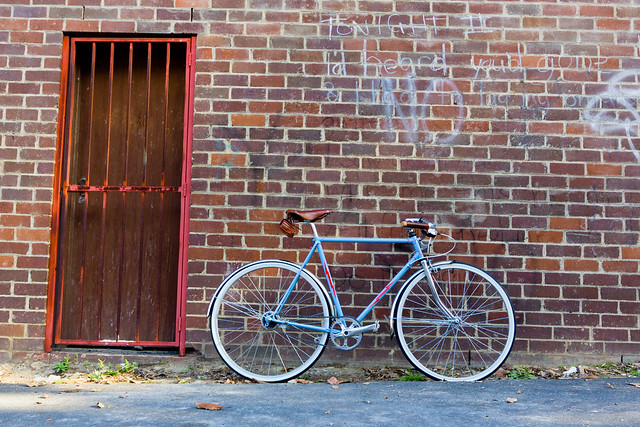
to my commuter bike, ridden every day

Re: BEFORE AND AFTER PICS BY ALL RESTORERS
Posted: Tue Sep 13, 2011 2:04 pm
by ldrcycles
Very nice, what gear ratio are you running?
Re: BEFORE AND AFTER PICS BY ALL RESTORERS
Posted: Tue Sep 13, 2011 5:41 pm
by BRLVR.v2
This bike is awesome the pic does not do it justice.
Re: BEFORE AND AFTER PICS BY ALL RESTORERS
Posted: Tue Sep 13, 2011 8:14 pm
by Danny83
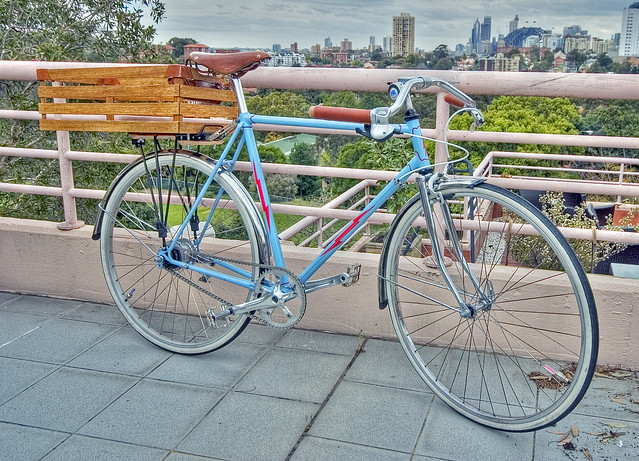
Latest additions : Brooks seat, wooden box,
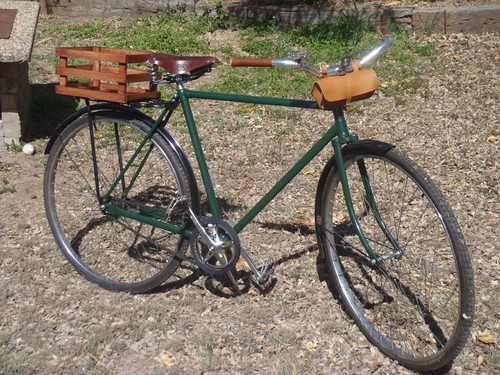 Untitled
 by
danny_838383, on Flickr
Re: BEFORE AND AFTER PICS BY ALL RESTORERS
Posted: Tue Sep 13, 2011 8:59 pm
by HappyHumber
damhooligan wrote:..., i asked more then once , you sure you want then there ?
And they are now under the clear , and not removable, but he is not planning of selling it,
he wants to ride it..
Booooo.. Hisssssss to him!
Re: BEFORE AND AFTER PICS BY ALL RESTORERS
Posted: Tue Sep 13, 2011 9:43 pm
by damhooligan
HappyHumber wrote:damhooligan wrote:..., i asked more then once , you sure you want then there ?
And they are now under the clear , and not removable, but he is not planning of selling it,
he wants to ride it..
Booooo.. Hisssssss to him!
Boo hiss, is a bit much...

Fair enough to dissagree, but booing..

Re: BEFORE AND AFTER PICS BY ALL RESTORERS
Posted: Tue Sep 13, 2011 10:17 pm
by HappyHumber
damhooligan wrote:
Boo hiss, is a bit much...
Fair enough to dissagree, but booing..
It was directed at your client. I shoulda clarified. You prodded his conscience a couple of times by asking.
"Customer is always right" and all that bizzo. You need to eat, pay your bills et cetera

Re: BEFORE AND AFTER PICS BY ALL RESTORERS
Posted: Wed Sep 14, 2011 11:49 am
by rustychisel
ldrcycles wrote:Very nice, what gear ratio are you running?
48 x 18, for me a perfect all day every day gear at about 30~32kmh.
more of the story and build here...
viewtopic.php?f=23&t=26680&hilit=+Stevens+rustychisel
Re: BEFORE AND AFTER PICS BY ALL RESTORERS
Posted: Fri Sep 23, 2011 8:55 am
by vaeske
mmm that peugeot got a very yummy paint job! good work damhooligan!
things I do to get a frame like that Mr Rusty. noice job.
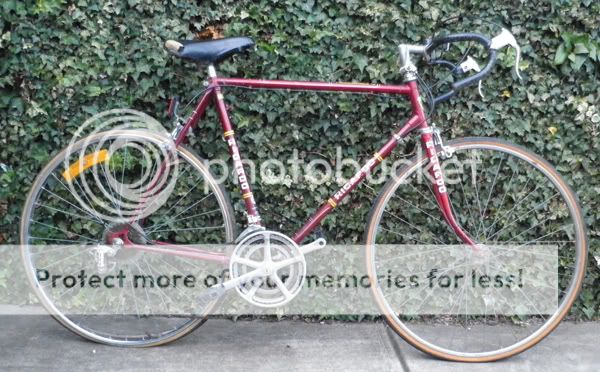
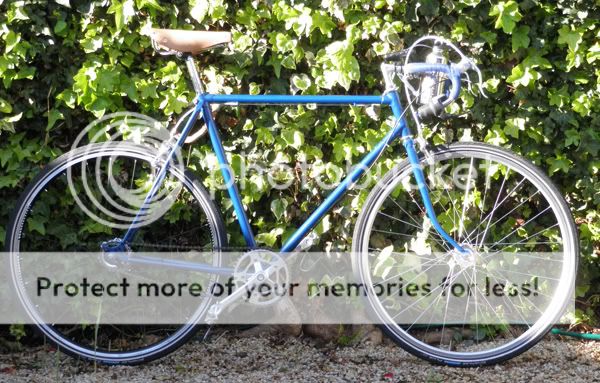
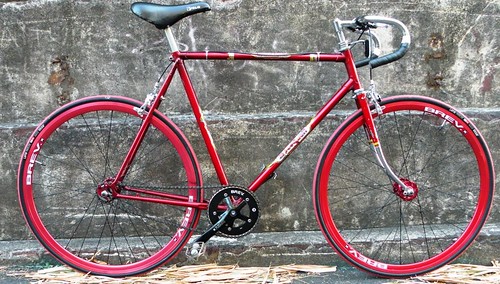
Here's mine my first fg/ss project.
Old Speedwell 10 speed from 70s. stripped it all back.
No work done to the frame apart from a good 'ol polish, New Brev M parts and comes in at a handy 8.9kg with 46x17 ratio.
Re: BEFORE AND AFTER PICS BY ALL RESTORERS
Posted: Fri Sep 23, 2011 4:43 pm
by BRLVR.v2
I like what you've done with this, and commented in the other sub forum, .... but deep down I really think that frame would look awesome rebuilt with a Shimano 600 arabesque group and some North road bars, porteur rack(townie style). Just my valueless 2c worth.
Re: BEFORE AND AFTER PICS BY ALL RESTORERS
Posted: Sat Sep 24, 2011 9:09 am
by mark field
i just want to say that this thread rocks my world, i love the amazing transformations. no matter what everyones taste is, you still have to admire the effort in bringing these lovely bikes back to life.
more please!!!
Re: BEFORE AND AFTER PICS BY ALL RESTORERS
Posted: Sat Sep 24, 2011 3:01 pm
by WyvernRH
Well I finally finished the Dick Tressider! I decided to do the transers myself as I couldn't justify the cost of getting Greg at Cyclomondo to do a one off set.
The bike dates from the late 60's as far as I can tell. I have aimed at equipping it as it might have been in the early 70's.
Before:

After:
I'll put a more detailed post up with specs etc in it's own thread when I get more time.
Cheers
Richard
Re: BEFORE AND AFTER PICS BY ALL RESTORERS
Posted: Sat Sep 24, 2011 3:05 pm
by damhooligan
WyvernRH wrote:Well I finally finished the Dick Tressider! I decided to do the transers myself as I couldn't justify the cost of getting Greg at Cyclomondo to do a one off set.
The bike dates from the late 60's as far as I can tell. I have aimed at equipping it as it might have been in the early 70's.
Before:
After:
I'll put a more detailed post up with specs etc in it's own thread when I get more time.
Cheers
Richard
Hi richard.
That looks good.
Love the color, that is really nice.
How did you do the transfers ?
Would love to see some more detailed pict of those..
Re: BEFORE AND AFTER PICS BY ALL RESTORERS
Posted: Sat Sep 24, 2011 10:25 pm
by mark field
yes lovely colour indeed, nice work.
Re: BEFORE AND AFTER PICS BY ALL RESTORERS
Posted: Sun Sep 25, 2011 8:30 am
by rkelsen
WyvernRH wrote:Well I finally finished the Dick Tressider!
Looks great Richard.
Re: BEFORE AND AFTER PICS BY ALL RESTORERS
Posted: Mon Sep 26, 2011 9:44 pm
by WyvernRH
damhooligan wrote:
How did you do the transfers ?
Would love to see some more detailed pict of those..
OK more detailed pics in this thread
http://www.bicycles.net.au/forums/viewt ... 23&t=32522
I did the layout using a mix of Paintshop, Paint.Net and Microsoft Word and printed them on transfer sheets I obtained from our local model shop (I got the idea after making some transfers for a modelling friend)
The head tube and scrolls are on white sheet and the down tube transfers are on clear sheet. I sealed them with Tamiya acrylic clear lacquer before cutting them out with a scalpel and applying them. They are not cleared over in case it all goes pear shaped in the weather but I'm hoping the laquer will protect them. The shield like thing is an old generic transfer I had which also got a coat of acrylic lacquer to hold it together after the first one disintegrated in the water....Seems to have worked well.
Nowhere near up to Greg's standard at Cyclomondo but I am happy with them as a first attempt.
Cheers
Richard
Re: BEFORE AND AFTER PICS BY ALL RESTORERS
Posted: Thu Sep 29, 2011 10:19 pm
by DJIntegr8
Re: BEFORE AND AFTER PICS BY ALL RESTORERS
Posted: Sun Oct 02, 2011 7:10 pm
by jbchybridrider
OK painted this frame just for practice before starting my elite and thought I may as well put it together.
The total cost to me is $37 recycling parts I had lying around and I mean everything including the inner outer cables bartape and tyres.
I got this 1988 superlight for $2 using the frame fork and gear shifters.
And used this 1992 superlight using the whole groupset I rode for a while with the exage wheels with kinlin rims but they were pretty crap so pulled some off another bike.
Used 105 levers I had with new hoods the original exage ones were all sticky.

And this is how it finished up. Better than I thought myself and worth riding for a while.
The exage rear derallier works perfectly as a 9speed with indexing off also the steerings abit slow compaired to my race bikes but I like it.

Not bad for $37 spent mainly on paint.