Page 9 of 16
Re: Before and After Pics by all restorers
Posted: Fri Dec 30, 2011 11:11 pm
by jaseyjase
lovely work! technique? 2pac? rattle cans?
Re: Before and After Pics by all restorers
Posted: Fri Dec 30, 2011 11:40 pm
by jbchybridrider
Thanks and its 2 pack done with a HVLP spray gun. Its actually the second frame I've painted, the first was a repco superlight done in lacquer but found the paint to brittle. I had 3 goes at the fork before I got it right and got the frame right first go.
So I'm still learning and plan to do more frames seeing as I have all the equipment including full face breathing mask with its own air supply. 2 pack can be deadly.
Re: Before and After Pics by all restorers
Posted: Sat Dec 31, 2011 9:38 am
by mark field
sublime work with the feathering of the two colours. I never grow tired of seeing everyones lovely work, i was going to post my before and after pics but im too embarassed.

Re: Before and After Pics by all restorers
Posted: Sat Dec 31, 2011 3:10 pm
by jbchybridrider
Don't be shy mark I always look at your work and have learnt from it. As for the feathering I got a few tips from a graffiti artist on the net and followed everything except changing the gun settings to a mist "Doh" and had to wipe a few blotches with thinners. The fork I'm not sure about in black maybe yellow is better but thats easy to change in the future. The colombus sticker should be futher up the tube too.
Re: Before and After Pics by all restorers
Posted: Sat Dec 31, 2011 3:34 pm
by Stuey
That's lovely work. Colours look great together, too.
Re: Before and After Pics by all restorers
Posted: Sun Jan 01, 2012 5:05 pm
by maccayak
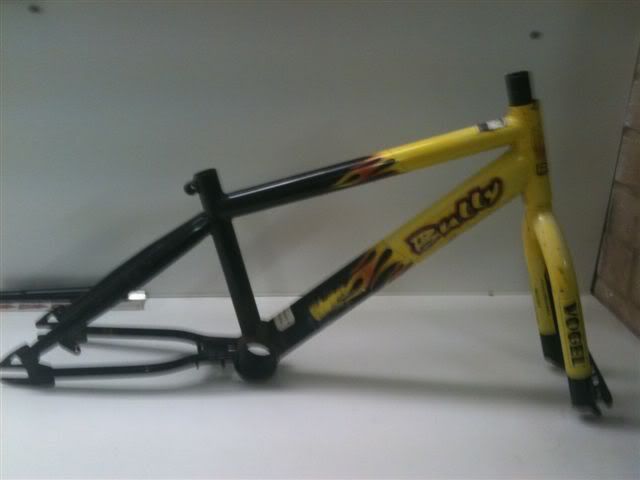
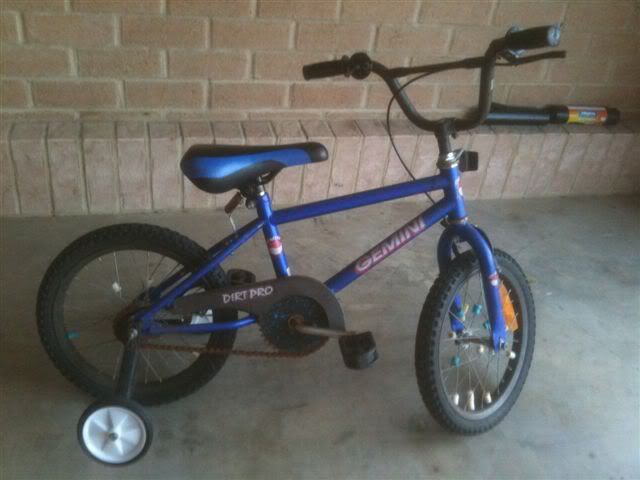
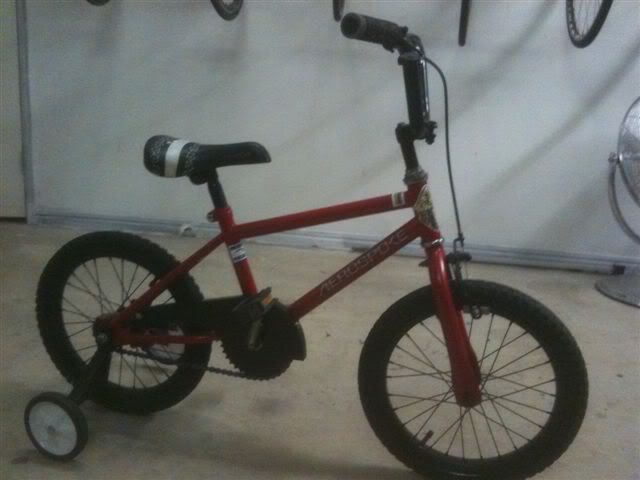
I made up a bike out off bits and pieces for my 10 year old son, also a bit of practice for me as it's been over 25 years since I have done anything on an old racer.
Started with an old small National 12 speed road side find, wheels buckled badly, but the frame was really small.
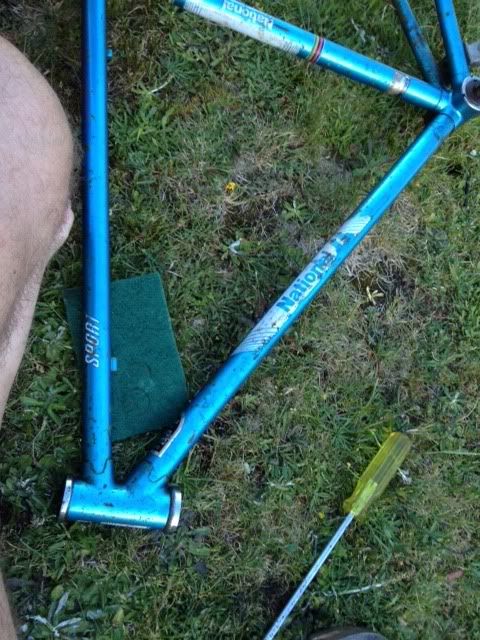
Then I purchase a Apollo/Radius bike for $10 at the tip shop. Only good for parts as whoever dumped it cut spokes with tin snips.
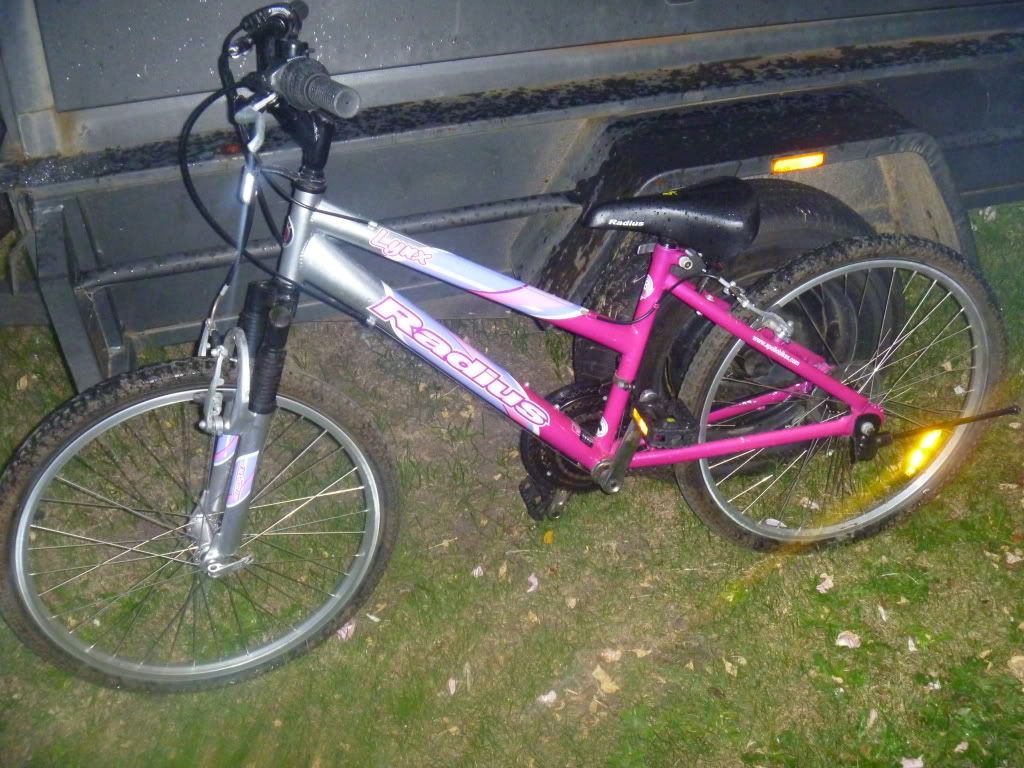
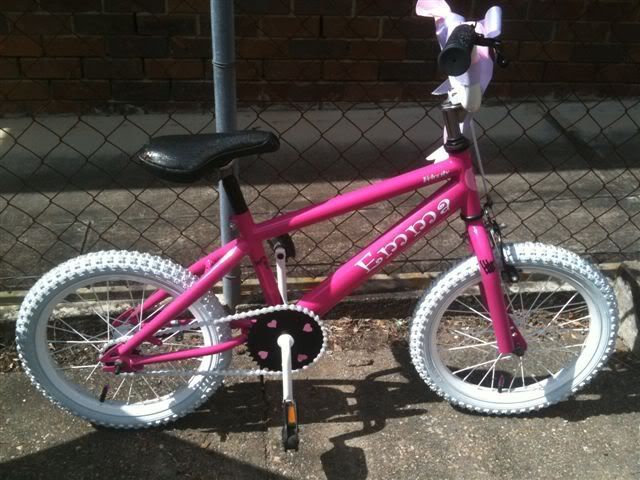
Blasted and powdercoated frame, used as much old stuff as I could. Bought new tyres, tubes and brake pads. Had some decals made up and used my sons nick name as a brand for a bit of fun. Wheels are temporary, just to get bike rolling. I painted them black, just to clean up their appearance. It's a real bitza of a bike, but the kids like it and it is quicker than their mountain bikes. My son is still a bit small for it, but I think my daughter will use it more.
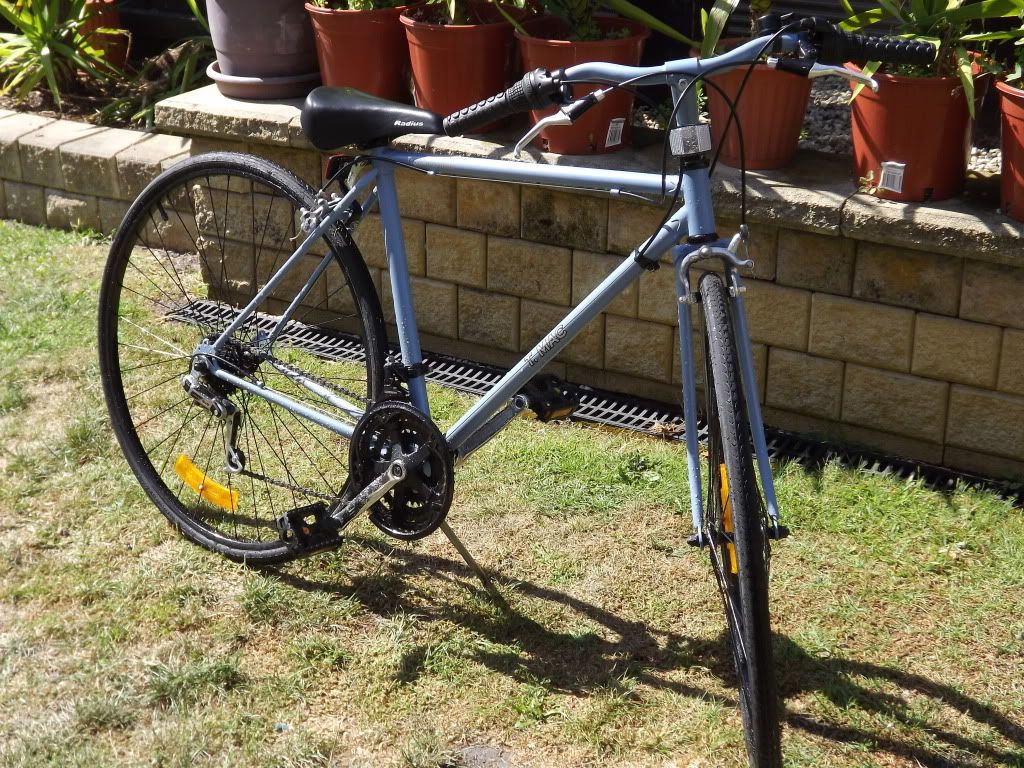
Using the gears of the old bike, it now has 18 speed. I might put 700 wheels on it, but I am not sure if the spacings will be right and it is too late for re setting. Anyway we have done our bit of recycling, pardon the pun.
Geoff
Re: Before and After Pics by all restorers
Posted: Sun Jan 01, 2012 7:09 pm
by ldrcycles
Great work

.
Re: Before and After Pics by all restorers
Posted: Mon Jan 02, 2012 12:08 am
by mark field
Maccayak, nice work with the build and choice of colours. looks good.
Re: Before and After Pics by all restorers
Posted: Wed Jan 04, 2012 1:16 pm
by koen
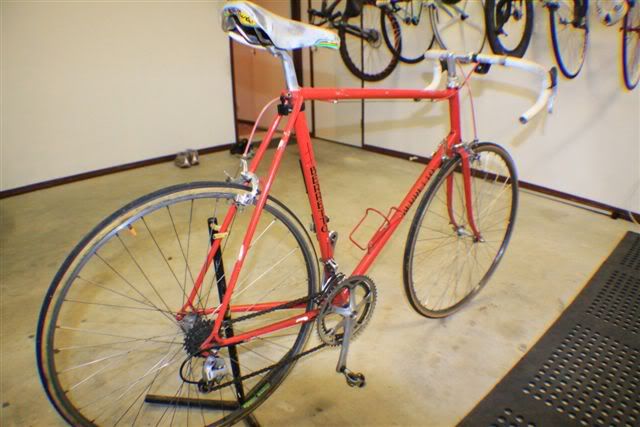
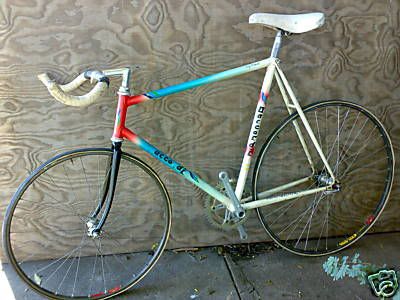
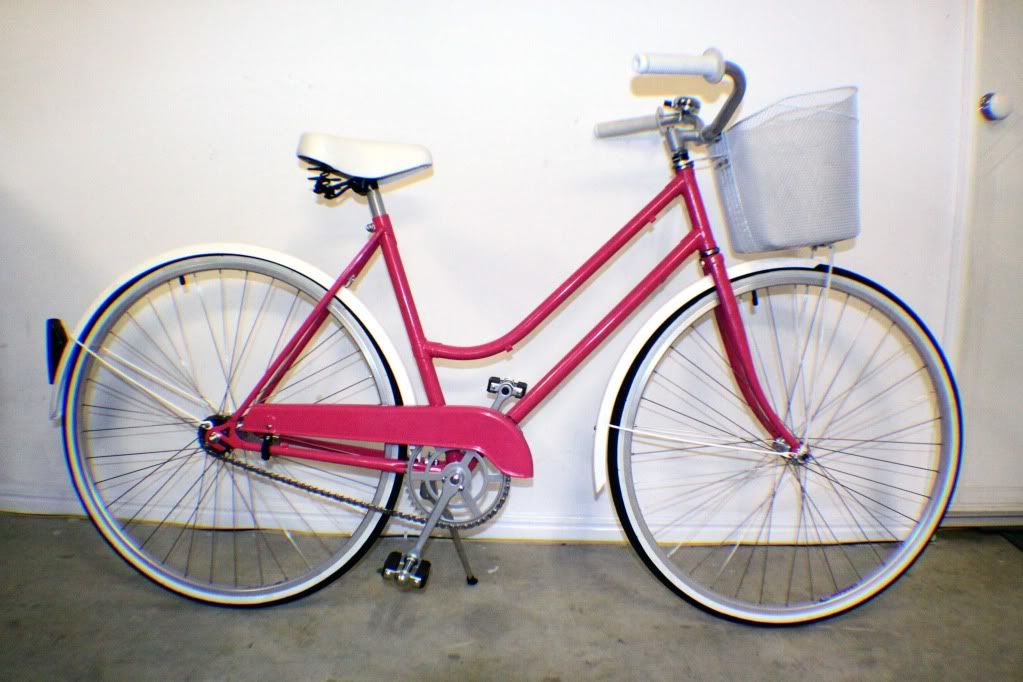
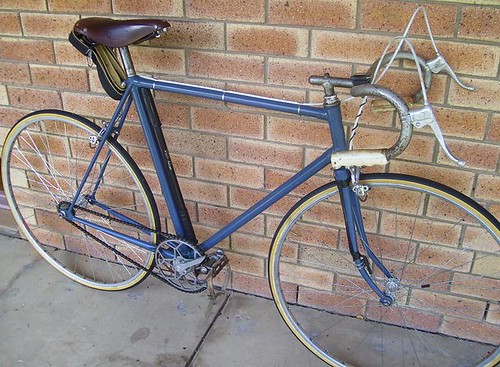
Well I have posted this bike elsewhere but this is my Healing (only the frame as found)
I said on another thread I had Bayliss Wiley hubs but I must have been absent that day as they are of actually Chater Lea which I knew quite well.
Not sure if I will put the bike back with the same set up. The Oppy bars are older than the frame by about 20 years I'd say.
What would you do?
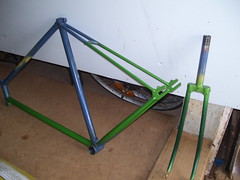
I had thought it was roughly painted but upon stripping I found that it must have been pretty carefully done except they had used an angle grinder or something and the frame and forks have little flats everywhere.I could see where the forks had the old rusty chrome removed when I took off all the paint. I decided to leave the old paint on the frame as it was well adhered with a primer under and I figured the more paint the easier it would be to hide the rough previous strip back.


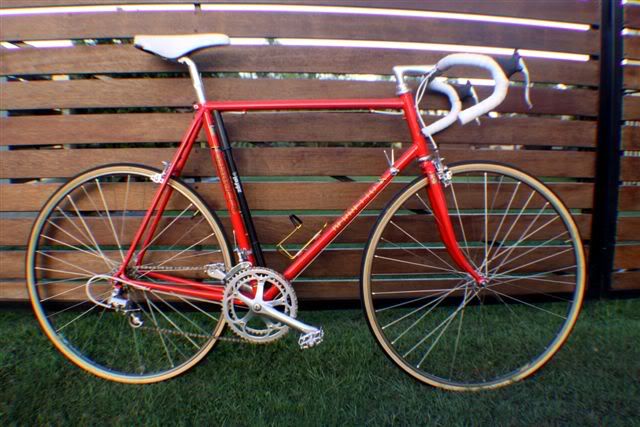
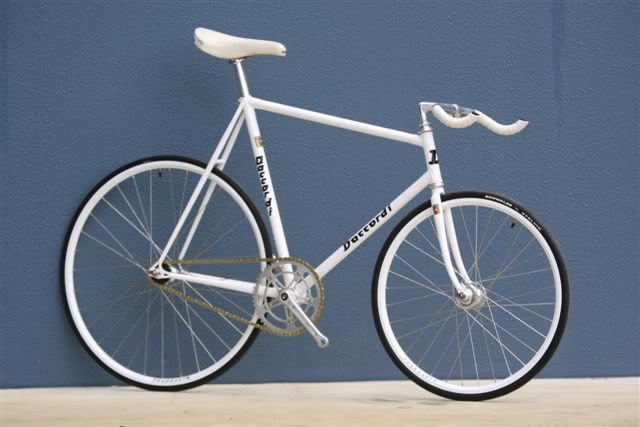
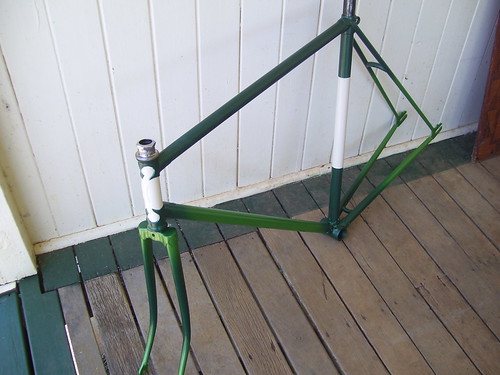
Finished painting and ready for decals and some detail around lugs
My Chater Lea wheels..very smooth..grease nipple on partially hollow axle works like suntour greaseguard (minus 50years)

Re: Before and After Pics by all restorers
Posted: Wed Jan 04, 2012 7:29 pm
by jbchybridrider
I thought it looked good in the first pic and if it was mine I would repaint the whole frame and rechrome all the components but to me thats just an excuse to wave a spraygun again. It'll be good to see this one complete again.
Re: Before and After Pics by all restorers
Posted: Thu Jan 05, 2012 3:11 pm
by Velo13
Re: Before and After Pics by all restorers
Posted: Thu Jan 05, 2012 8:29 pm
by mark field
Josh- that resto is sweet. even the background got a makeover!!
Re: Before and After Pics by all restorers
Posted: Thu Jan 05, 2012 10:14 pm
by brasstinman
mark field wrote:Josh- that resto is sweet. even the background got a makeover!!
Ditto

Re: Before and After Pics by all restorers
Posted: Sun Jan 15, 2012 3:52 pm
by Irukanji

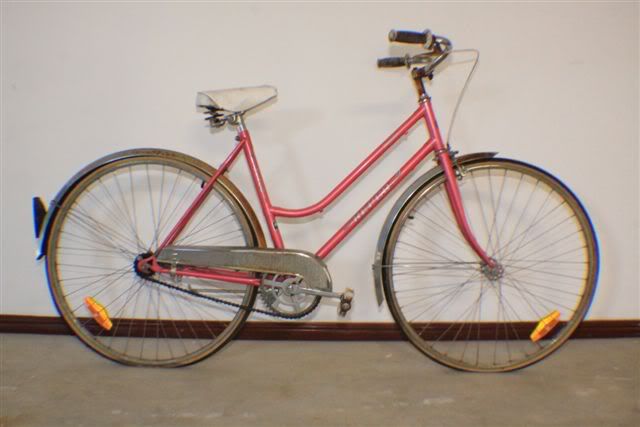
Malvern Star Flite, I know nothing about it. Got it for free when the old lady across the road moved out, stuck a seat on it and redid the grips. Will probably replace the brakes in a few months depending how it goes, and probably also replace the chain in the next week or so. There was 1mm of...stuff...covered over the entire bottom end. Rubber still holds pressure(currently at 75PSI or so, but probably leaking).
This is the after pic since I only discovered this website after I had already got it to this stage. Since the pic I removed the reflectors and the brake extenders(they barely worked anyway). It'll need a new chain since this one hasn't been treated well, and the rear cassette could definitely use a fix...
If anybody knows anything about this bike, please tell me...Google has nothing
EDIT: Brake extenders, not gear. Thinking of sticking them back on to modulate speed when I'm sitting more upright...
Re: Before and After Pics by all restorers
Posted: Sun Jan 15, 2012 10:51 pm
by Mulger bill
G'Day Irukanji, welcome outside
Looks pretty neat to me, no idea of a history I'm sorry.
Goodonya getting rid of the suicide levers, I'd trust Silvio Berlusconi to babysit me daughter before I trust them.
Shaun
Re: Before and After Pics by all restorers
Posted: Mon Jan 16, 2012 8:27 am
by ldrcycles
Irukanji, a good start would be to check the back of your derailleurs for date codes, this website shows what they mean.
http://vintage-trek.com/component_dates.htm.
Re: Before and After Pics by all restorers
Posted: Mon Jan 16, 2012 3:41 pm
by OMR327
Re: Before and After Pics by all restorers
Posted: Mon Jan 16, 2012 3:59 pm
by jbchybridrider
Nice, your a very busy man.
Re: Before and After Pics by all restorers
Posted: Mon Jan 16, 2012 4:22 pm
by ldrcycles
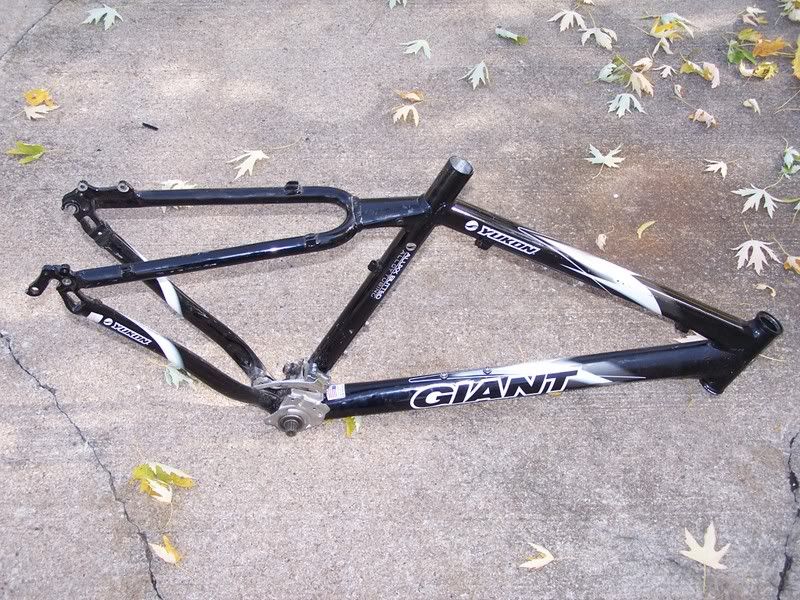
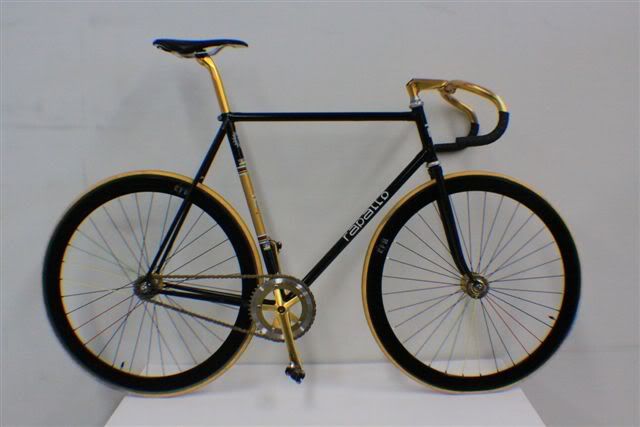
WOW nice work! I really like the result on the Yukon, how did you get that colour?
Re: Before and After Pics by all restorers
Posted: Mon Jan 16, 2012 4:28 pm
by OMR327
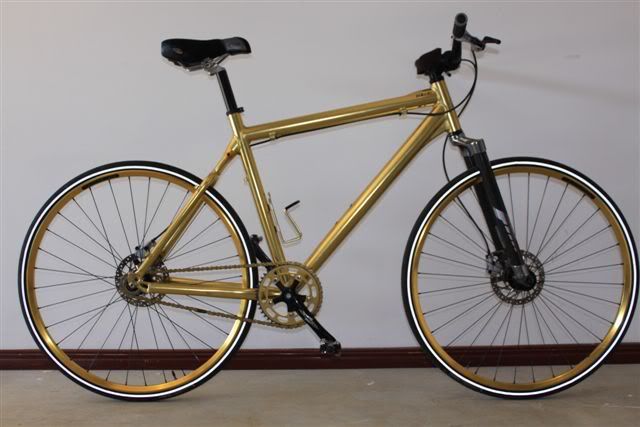
ldrcycles wrote:WOW nice work! I really like the result on the Yukon, how did you get that colour?
Rubbed the Black anodised off, had a mate who is an alloy polisher, hand polish it like a mirror,
then Gold anodised it.
Very hard!
Re: Before and After Pics by all restorers
Posted: Mon Jan 16, 2012 4:35 pm
by ldrcycles
I didn't think it would have come from a rattle can
, what a spectacular result though!
Re: Before and After Pics by all restorers
Posted: Mon Jan 16, 2012 10:50 pm
by mark field
OMR327-thats quite an impressive collectionyou have. sublime work.
Re: Before and After Pics by all restorers
Posted: Tue Jan 17, 2012 8:53 am
by OMR327
mark field wrote:OMR327-thats quite an impressive collectionyou have. sublime work.
Thanks!.... but that's probably only a quarter of it

Re: Before and After Pics by all restorers
Posted: Tue Jan 17, 2012 11:40 am
by lunar_c
OMR327 wrote:mark field wrote:OMR327-thats quite an impressive collectionyou have. sublime work.
Thanks!.... but that's probably only a quarter of it
Well out with the rest then!
Re: Before and After Pics by all restorers
Posted: Tue Jan 17, 2012 11:51 am
by familyguy
At least post the one you built!
Jim