
The lights are set up with one being dip and the other full beam. They also both have the usual flash option or one of each. The horn is mounted on the floor - it sounds like some very loud demented bird, so I might change it for something more horn-like at some stage.
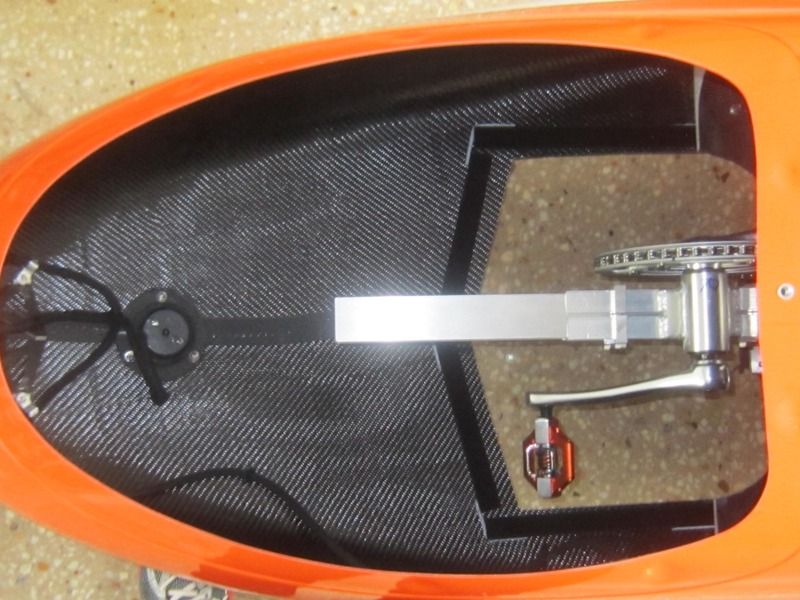
The front storage area under the luggage hatch. I need to put some coroplast or netting in here. The hatch is secured by magnets and two machine screws and shaped to drain water off to the sides. The foot hole is one large area rather than two separate slots. I also have the removable cover for this.
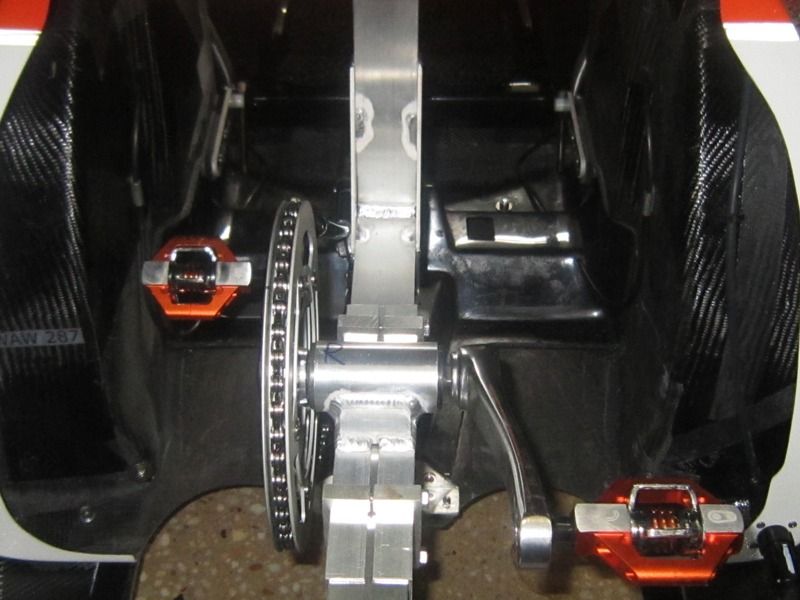
On the bottom right you can see the connector for the wiring loom which allows the front end to be removed. The crank boom is triangulated with extensions going to both the top and bottom of the middle monocoque section.
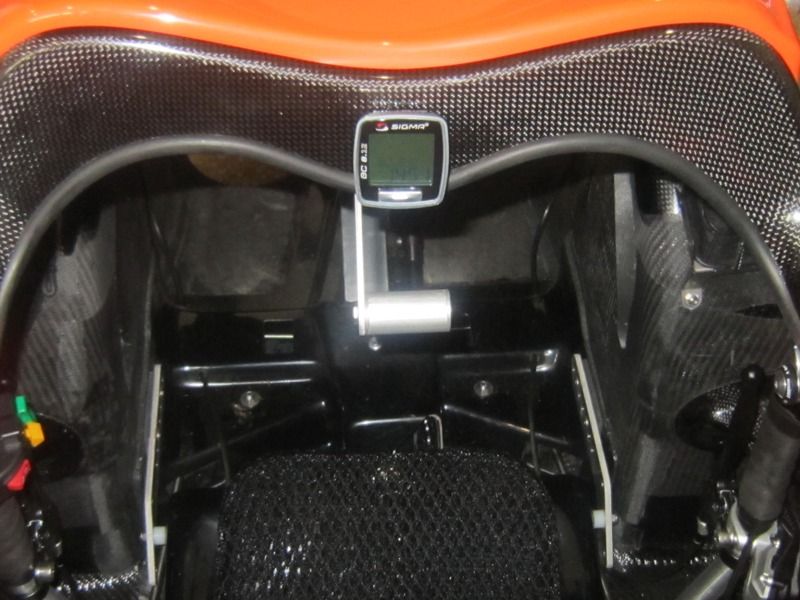
The dash with the phone mount flipped forward. There is a USB charging port behind the dash. This also shows the removable cover over the steering linkages and the water channel behind the dash.
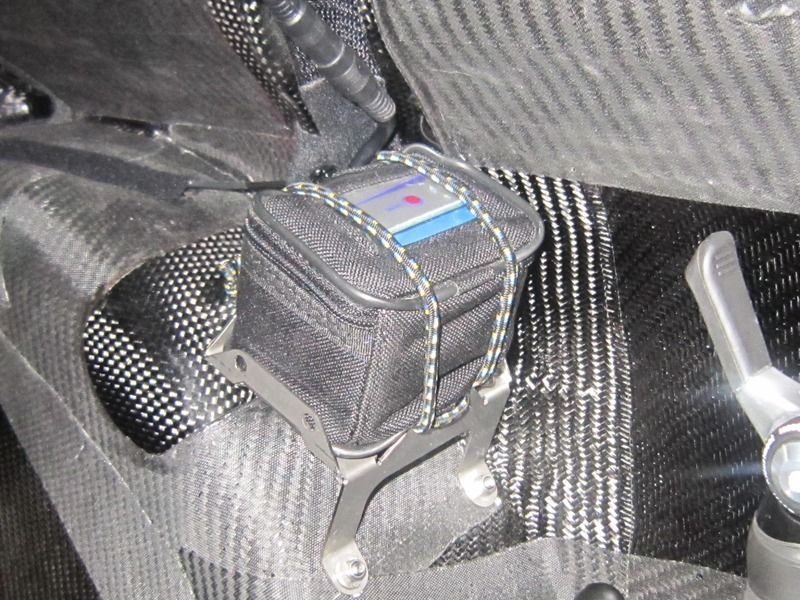
The 12V battery on top of the right hand wheel well.
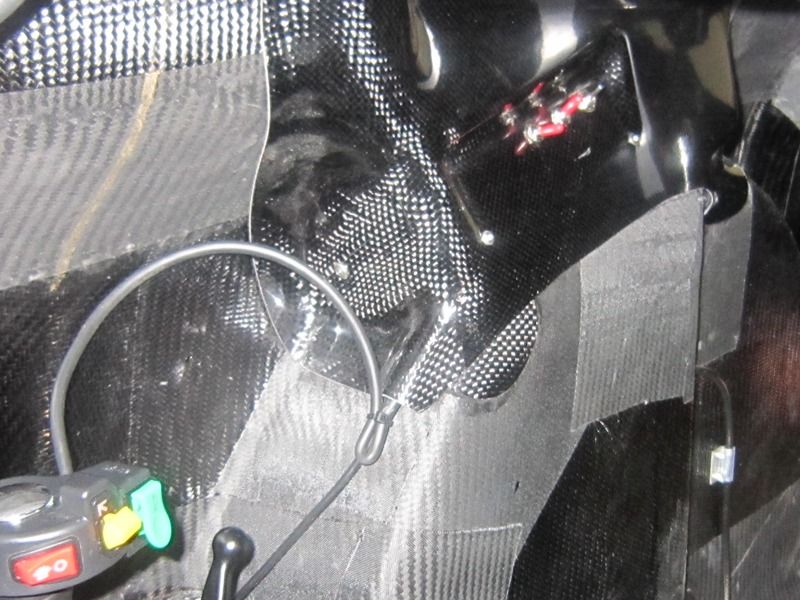
The light and power switches on the top of the left hand wheel well.
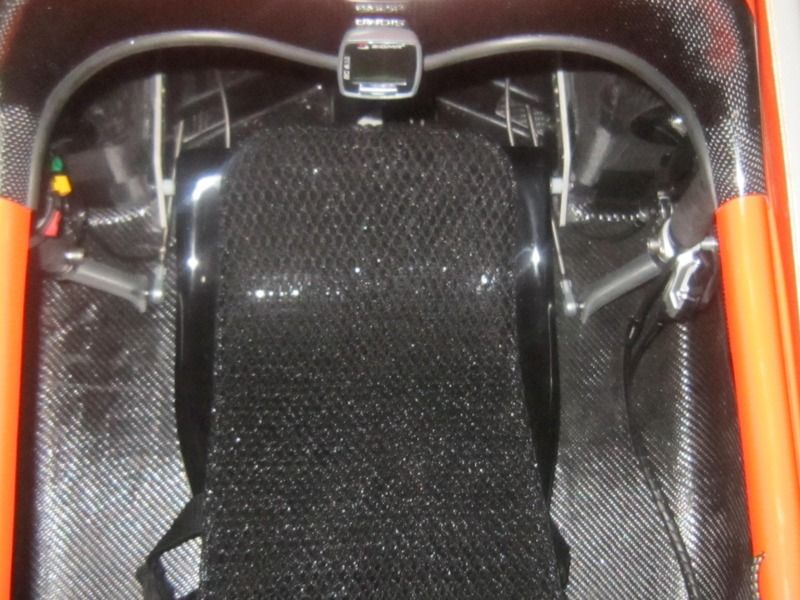
The storage areas beside the seat are fully usable as the steering levers barely intrude on the space when in use. You can just make out the front elastomers for the suspended seat. The seat is adjustable for height as well as angle.
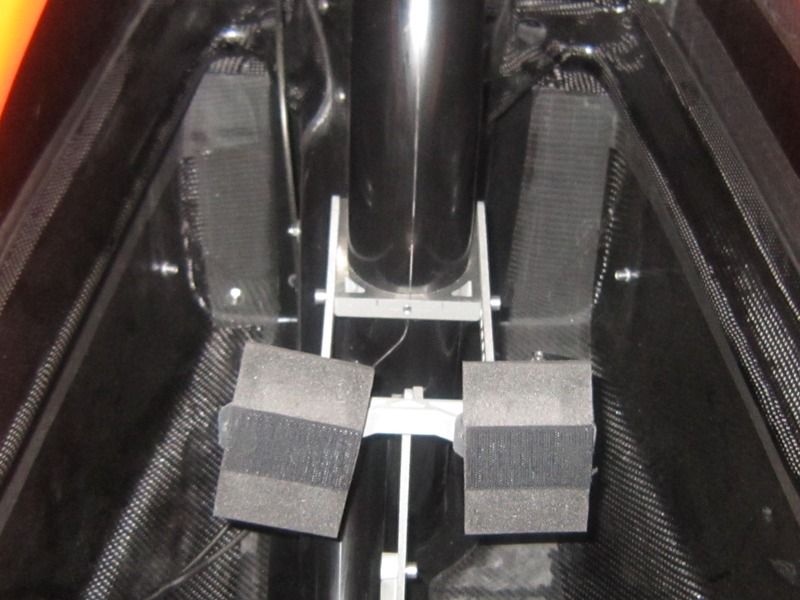
The rear seat mountings and the seat angle adjustment brackets. This also shows the storage area behind the seat which would swallow both of my trike rear panniers.
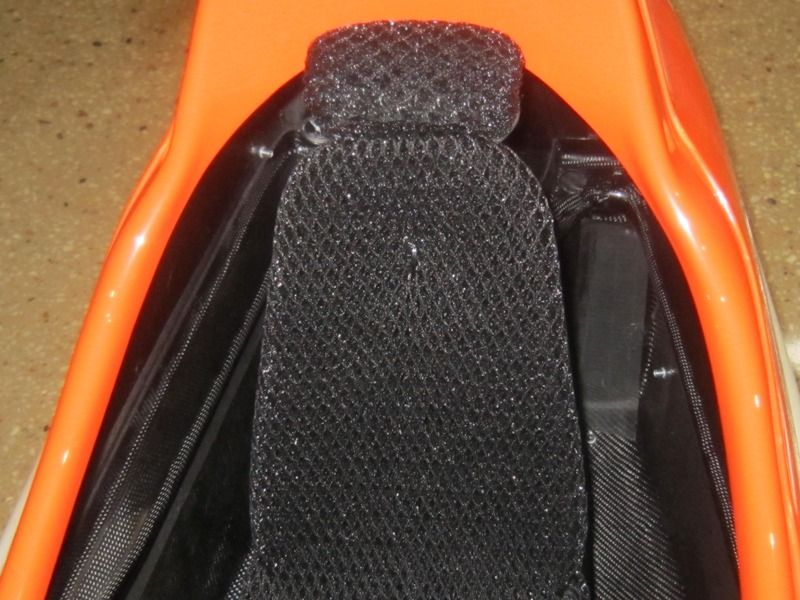
The same with the seat flipped back in place.
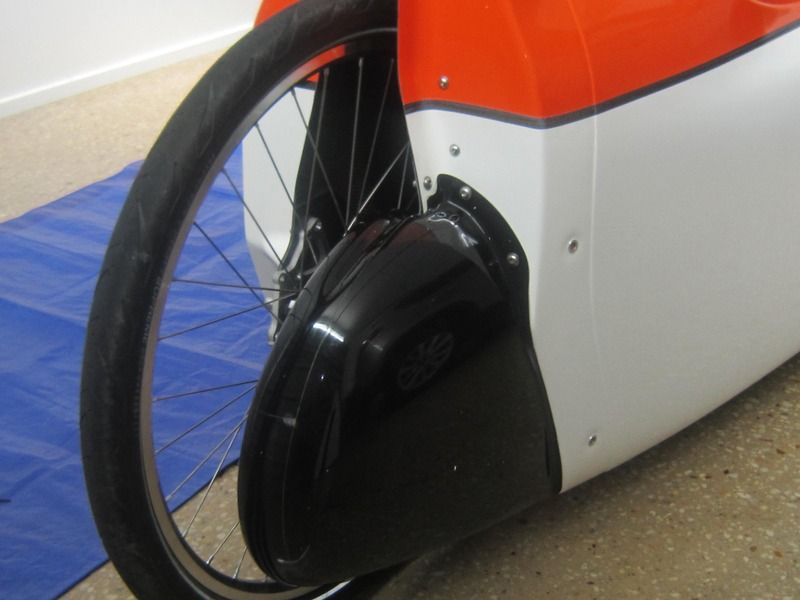
The derailleur shroud which keeps the rear drivetrain fully enclosed. This complicates wheel removal, which is needed to fix a flat, but is well worth it.
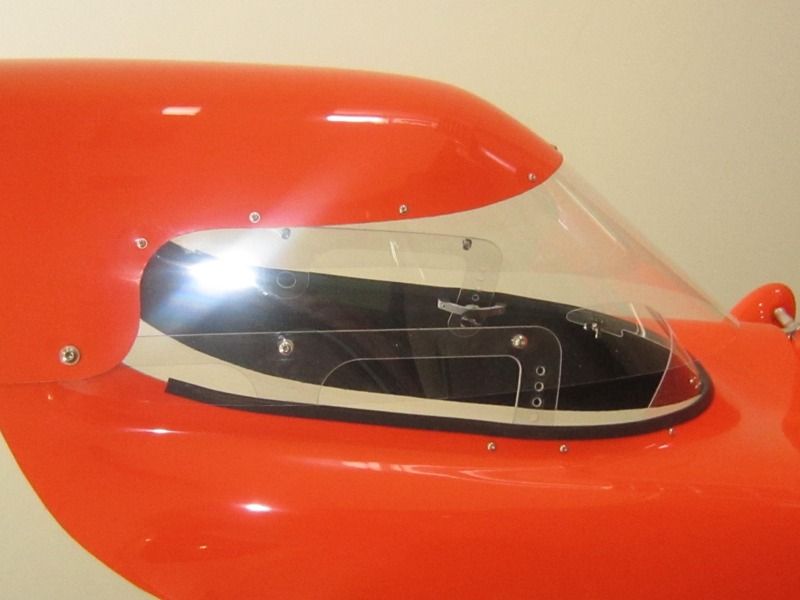
The race hood fitted onto the hatch cover. This shows the visor adjustment brackets and the interior lining on the hood and hatch cover. The hatch cover is secured when in use by magnets, and the visor is easily adjusted whilst riding.
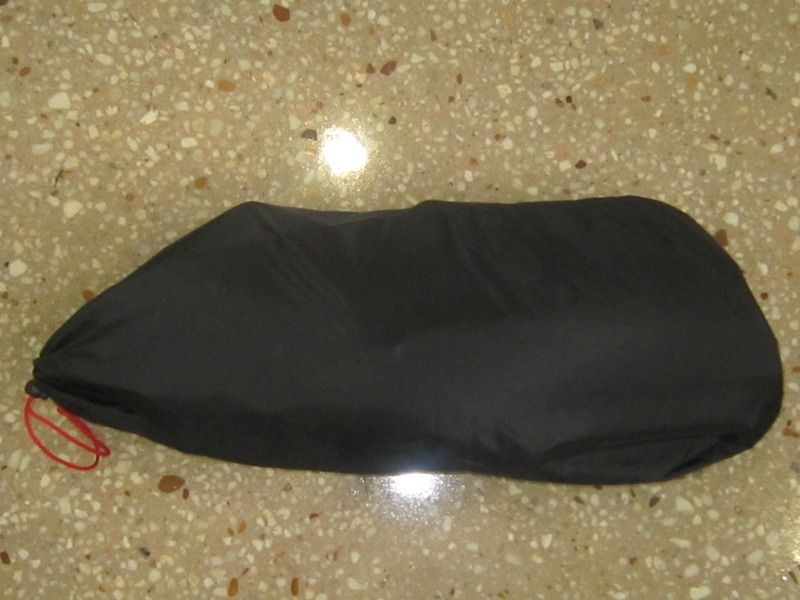
The race hood rolls up into this bag which fits in the rear of the velo if you want to take it with you.
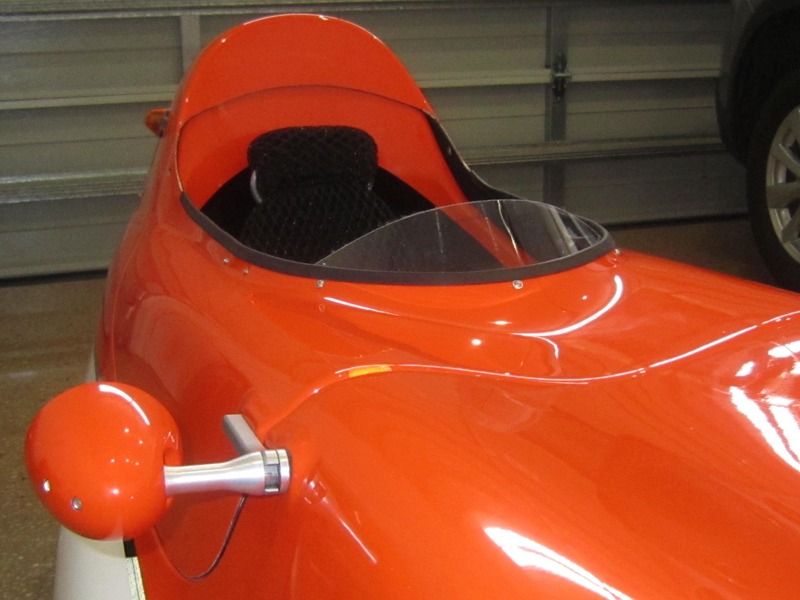
Cabriolet style, showing the hatch hinge on the mirror mount and the mini visor which sits inside the race hood visor when using the hood.
The chain runs in an enclosed channel under the floor with an idler at the front end of it. The underneath of the velo is very clean with just the shallow protrusion of the chain channel running along the middle.
The steering, lack of rear suspension and modular construction are probably the features that set the WAW apart. There are quite a number of variations in the front and rear sections available now. The boom construction, being secured top and bottom as well as triangulated, coupled with a stiff central monocoque and hard tail make for a very good sense of responsiveness in power to the rear wheel.
Hopefully that gives a good idea of what these beasts are like.
Cheers,
Mike
