
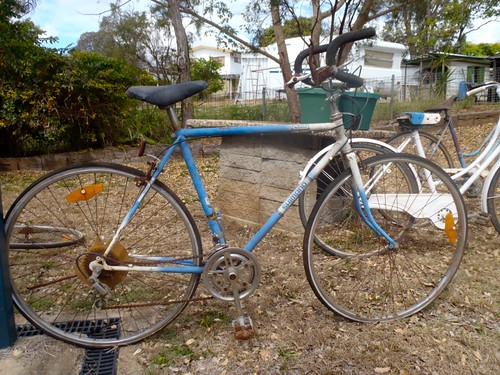
Untitled by danny_838383, on Flickr
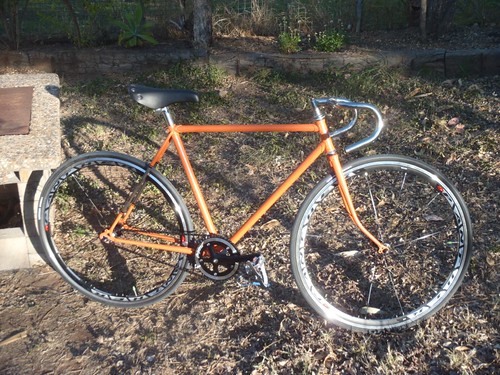
Untitled by danny_838383, on Flickr


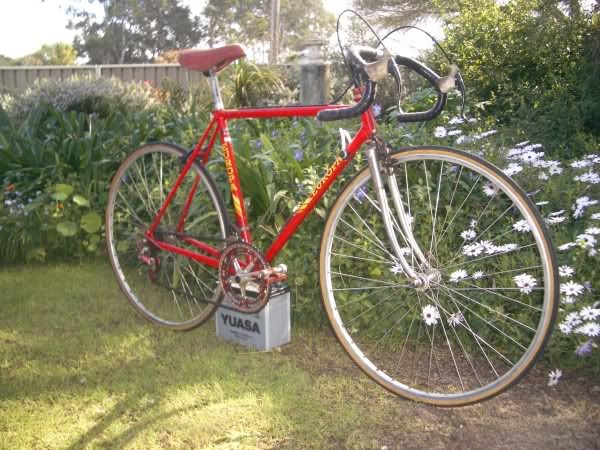
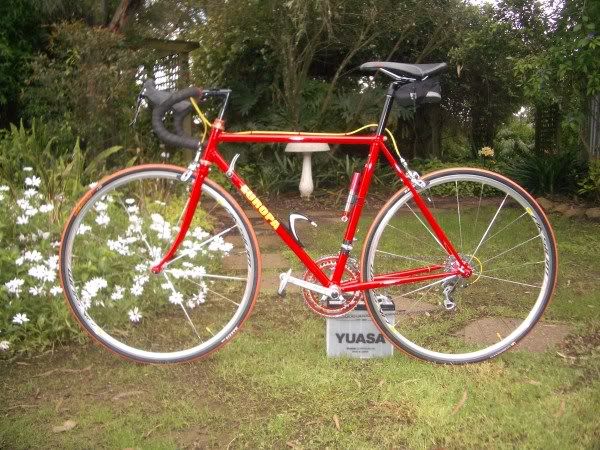
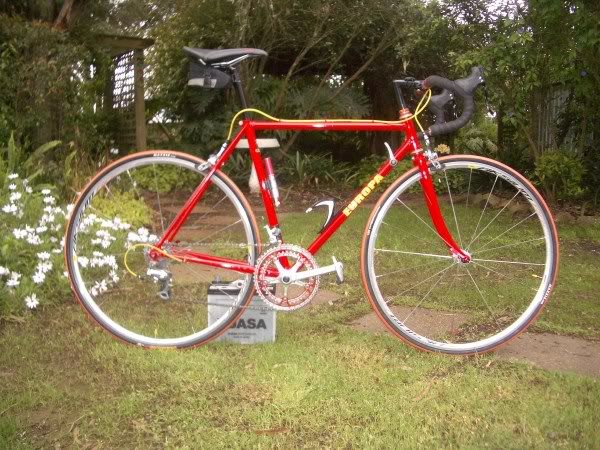

Seat looks pretty high.old al wrote:As I said in another post not one for the purists and still a work in progress. Here is the Europa before and after so far.
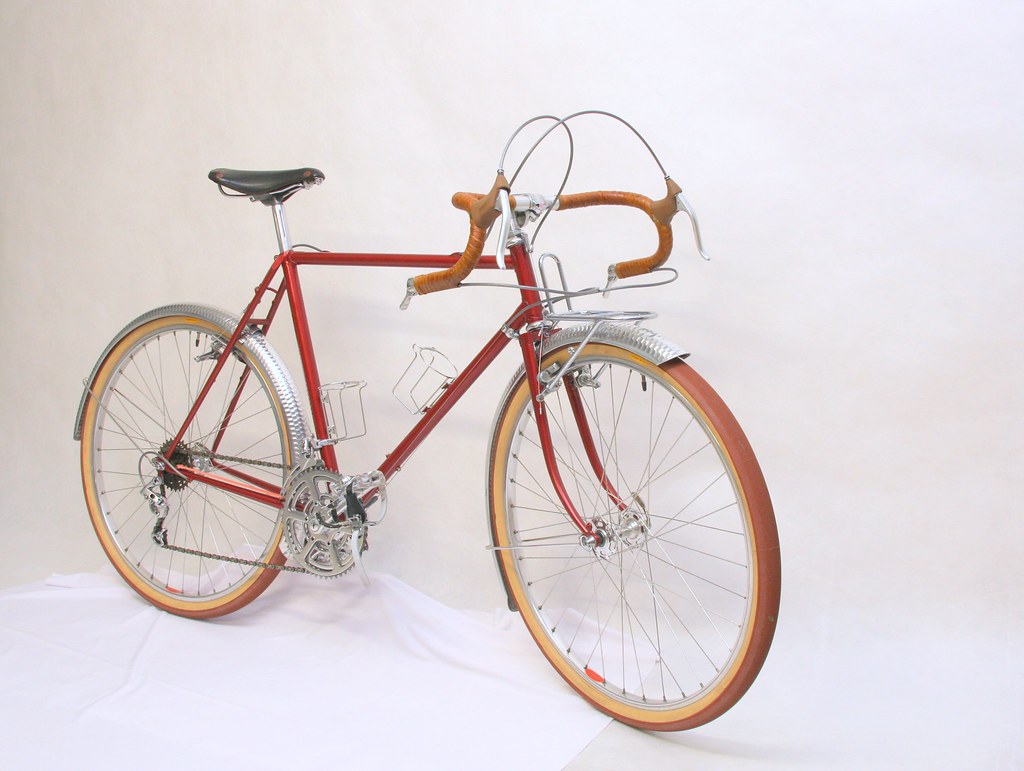
Weight is 9.6kg. Kept with the original colours of red and yellow. Red chainrings match the red Rino derailleur which is still under repair.elStado wrote:Seat looks pretty high.old al wrote:As I said in another post not one for the purists and still a work in progress. Here is the Europa before and after so far.
Cables are a bit messy - colour OK as it matches the decal.
Not a massive fan of the red chainrings.
Looks pretty damn sweet otherwise. How much does it weigh do you know?

DROOOLSold al wrote:As I said in another post not one for the purists and still a work in progress. Here is the Europa before and after so far.
Al.


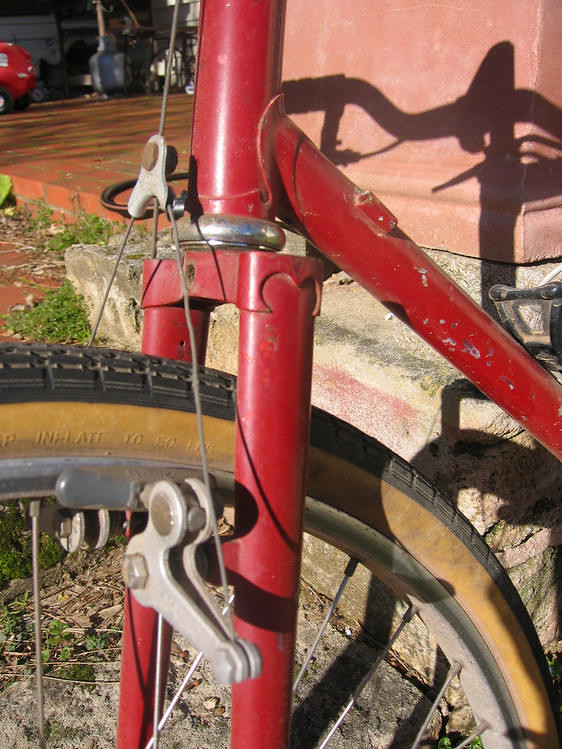
I agree. I left the cables long as I am waiting for a new set of black calipers that are a bit longer than the Shimano's that are on the bike now. I had to turn the brake shoes upside down to get them to contact the rim and not the tyre.Mulger bill wrote:If I was gonna be picky, I'd say that rear brake cable needs shortening to reduce friction by removing that reverse curve at the seat cluster.
Everything else is sweeeet.

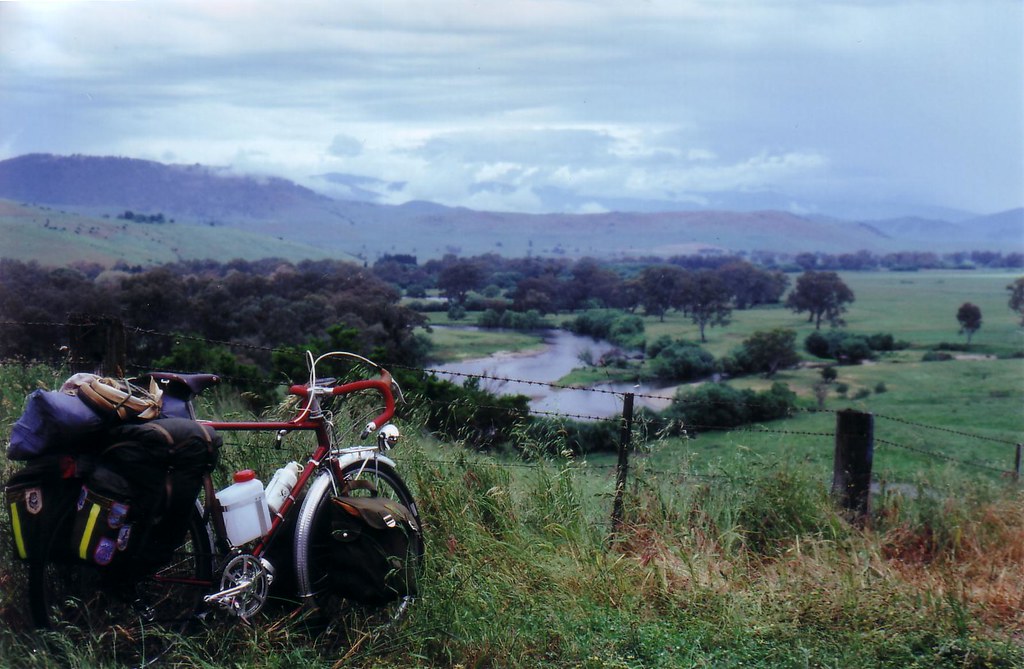
 After Around the Bay yesterday actually. Bill P
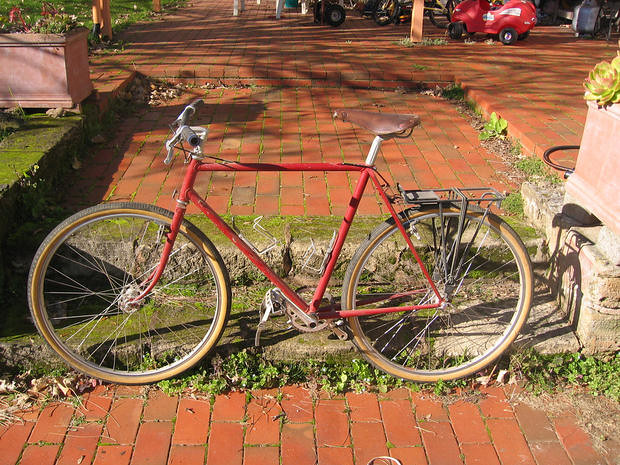
Agreed. Materials like carbon fibre as a greater reflection of our 'throw-away' lifestyle where things are not made to last. People knowingly sacrifice durability and longevity in order to have something that is lighter and prettier. I mean, can anyone imagine bringing a 25 year old beater carbon bike back from the dead like what Bill managed with his bike?vaeske wrote:wow, that Europa looksB very very cool indeed and Bill P, nice job man! great to see so many faces of your steed. That's why you can never do something similar to a carbon bike! The beauty of having vintage steel!


Bill P... I'm sure I wouldn't be the only one who'd love to see a bit of a build list to ID some of the components you've reused and sourced for the reno.. I'm guessing there's a lot of Nitto stuff on it, maybe some Velo-Orange repro stuff? What exactly is the crankset & drivetrain is made up of?BillP wrote:The internet and Bike forums are invaluable to keeping older bikes on the road. This refurb contain parts sourced directly from Belgium, Cypress, US, UK, Japan, and Aus. Couldn't have done that 20 years ago. Thanks for the kind words. Bill P

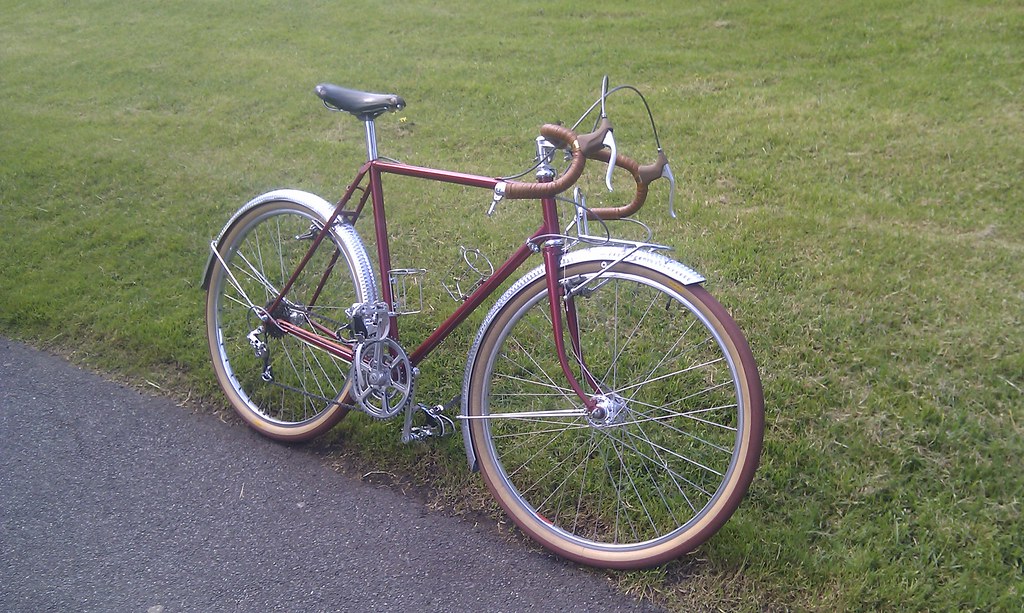
So, (just asking) is 'Randonneur' the new term for what I would call a touring bike? Over the last few years I have had my Swallow touring bike described as a 'Cross bike', 'All terrain', 'cyclo-cross', 'commuter' when what it is is a fully kitted out 700c wheeled heavy tourer? The term Randonneuring tends to be used to describe Audax events and 'Audax' when applied to a bike describes something a bit sporty these days, seeing the old rules about mudguards etc got discarded.lunar_c wrote:BillP .. remember me? I sold you some clamp-on cable stops on eBay and emailed you after to see what you were building and it was the beautiful randoneur you just showed us
Like Kym, I'd love to know more about your rando! Specs .. and the story behind it!
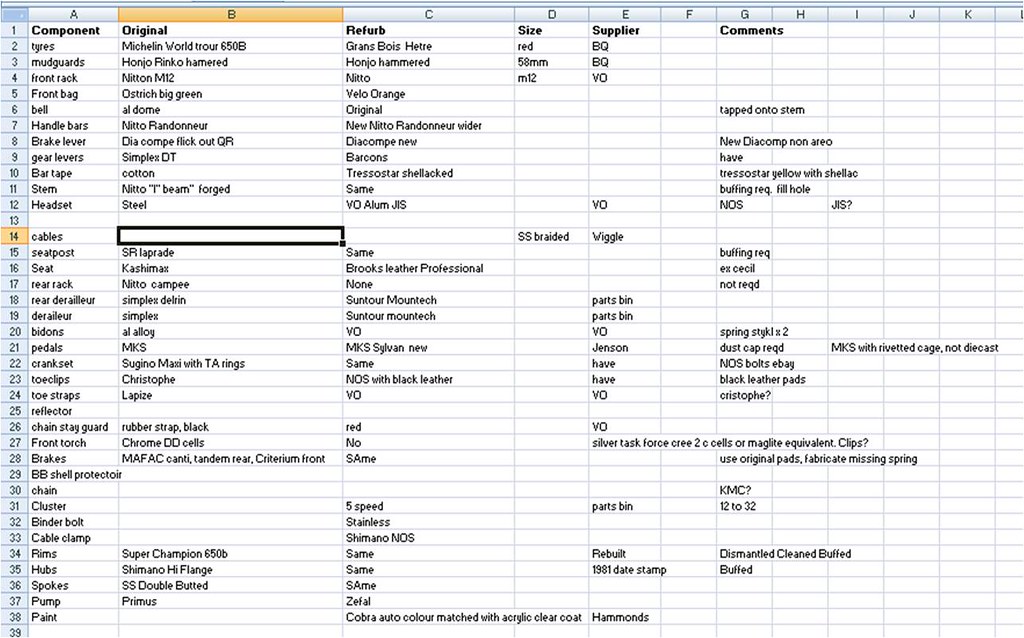
Thanks for sharing!BillP wrote:Hi Kym, Here is my rough worksheet for the rebuild..
Yes for guessing the paint colour!BillP wrote:The paint was $74 for a small tin- Its Cobra auto paint, metallic cherry red.
Well guessed elStado, but you lose all your points for dissin' the worlds best tyres! Bill PYes for guessing the paint colour!
Users browsing this forum: No registered users