Repco Nishiki Tri-A rebuild [11 March - on the road!]

User avatar
uMP2k
Posts: 618
Joined: Mon Nov 27, 2006 6:22 pm
Location: Perth, Western Australia

Repco Nishiki Tri-A rebuild [11 March - on the road!]

Postby uMP2k » Tue Jan 27, 2009 2:04 pm

Well, after months of talking about it I think the only way I am ever actually going to get the rebuild of my Repco Nishiki Tri-A finished is by starting a build thread. So, here it is!

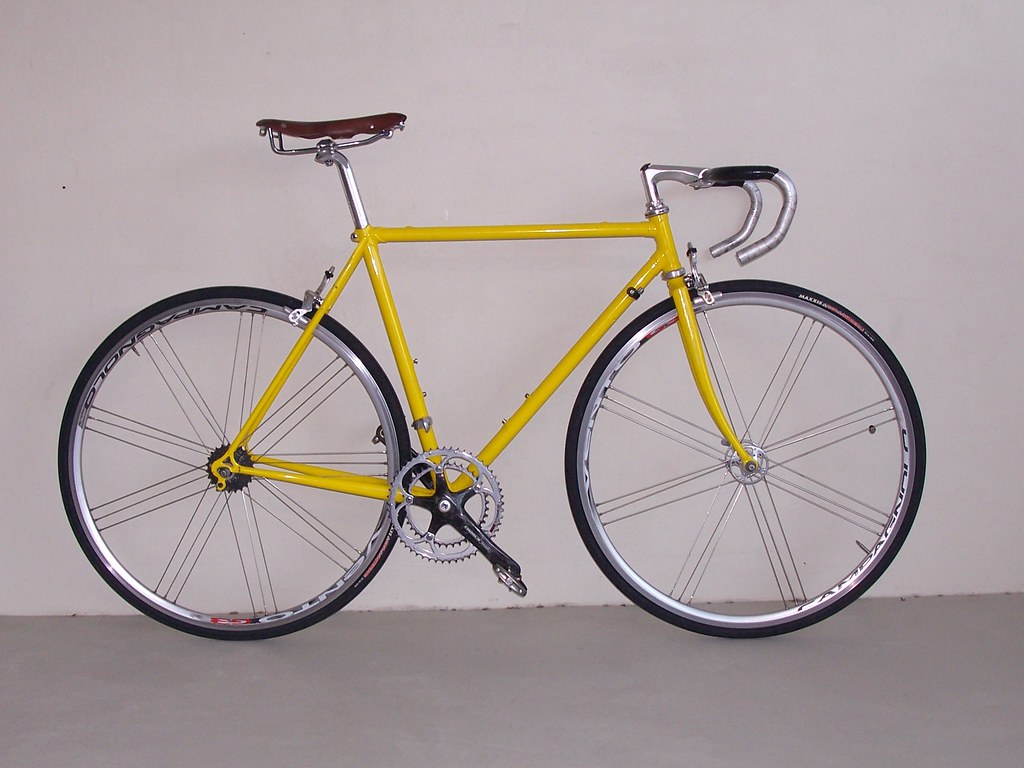
I have had this frame, in one form or another, for about 15 years now. When new, it would have looked something like this:

Image 
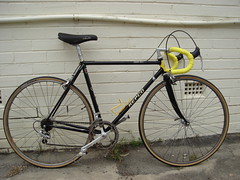
(Credit to 80'sDave for the picture of his Nishiki Tri-A)

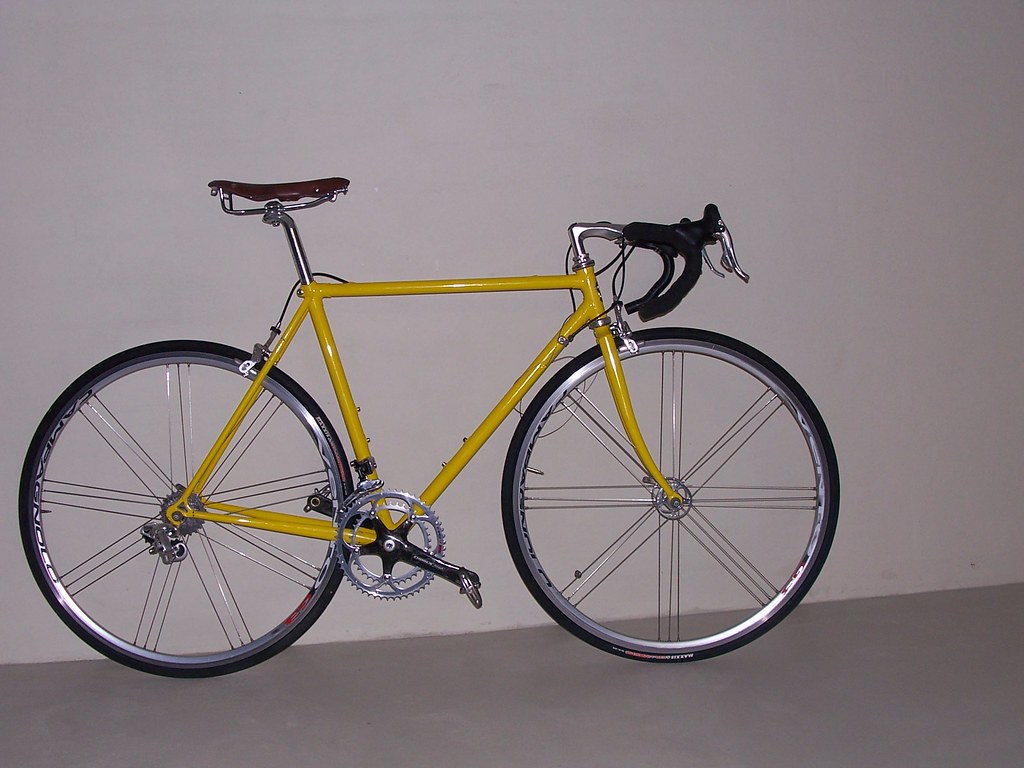
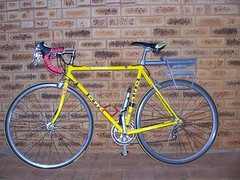
The last of its many incarnations since I found it at a local Cash Converters (looking very dirty and unloved) was as my dedicated commuting bike:

Image

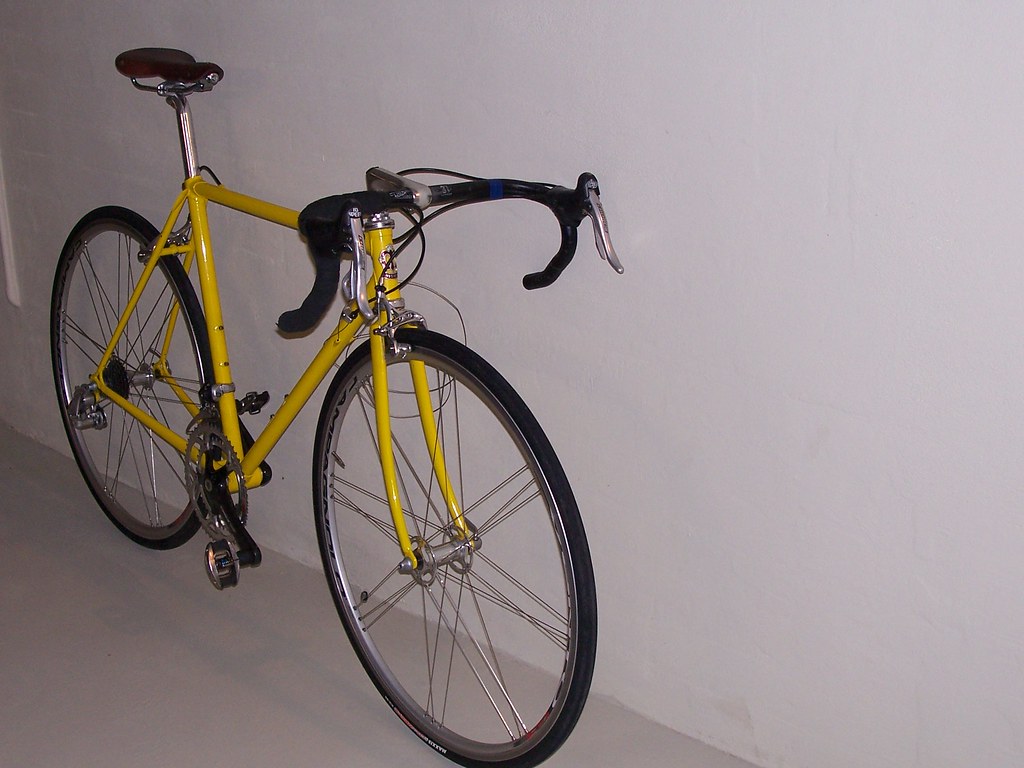
After a crash about 2 years ago and a recent frame repair it is now stripped down and ready for the rebuild to begin:

Image Image

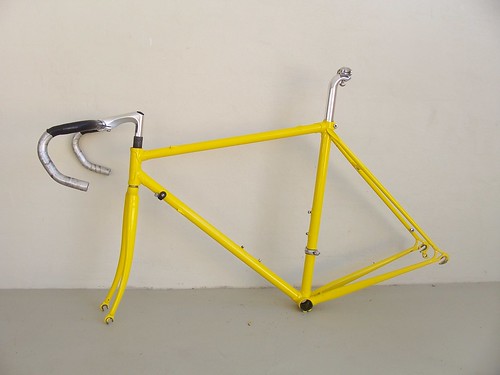
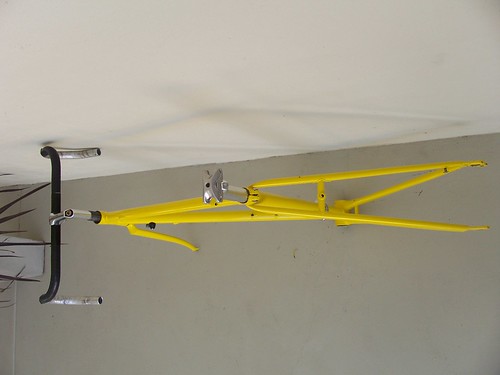
Planning to strip the components from my other road bike (10spd Campagnolo Chorus/Centaur/Vento) and turn this into my main road bike.

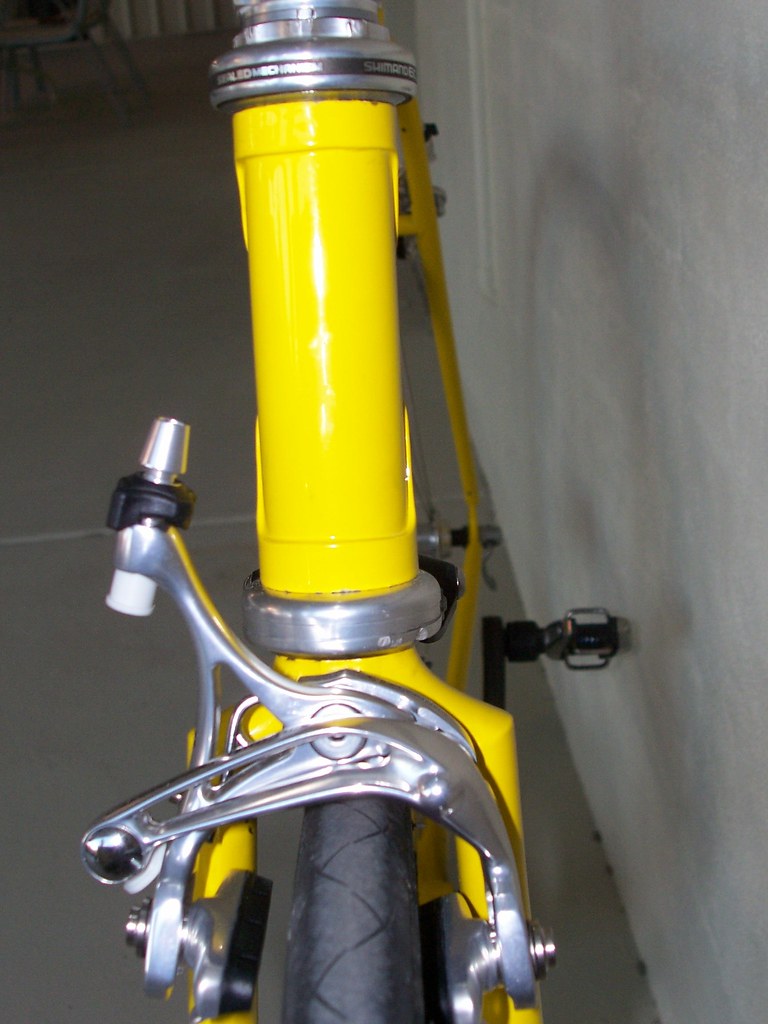
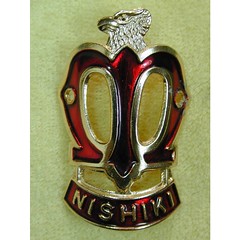
Ohh yeah and there is the nice red Nishiki badge I picked up for the head tube:

Image

Now I just have to actually get it built :D
Last edited by uMP2k on Wed Mar 11, 2009 4:37 pm, edited 4 times in total.

User avatar
Mulger bill
Super Mod
Super Mod
Posts: 29060
Joined: Sun Sep 24, 2006 2:41 pm
Location: Sunbury Vic

Postby Mulger bill » Tue Jan 27, 2009 6:49 pm

Jeez, was the prang really that far back? :shock:

The repair came up well. Now hurry up and build it. :lol:

Shaun
...whatever the road rules, self-preservation is the absolute priority for a cyclist when mixing it with motorised traffic.
London Boy 29/12/2011

User avatar
uMP2k
Posts: 618
Joined: Mon Nov 27, 2006 6:22 pm
Location: Perth, Western Australia

Postby uMP2k » Tue Jan 27, 2009 8:45 pm

Mulger bill wrote:Jeez, was the prang really that far back? :shock:

The repair came up well. Now hurry up and build it. :lol:

Shaun
Yep happened on Feb 17 2007 - I found it pretty hard to believe it was that long ago myself and had to dig out the original crash threadhere and follow ups here and here to find out for sure!

Hopefully, I will be putting it together over the next week or two as long as nothing goes wrong ( :) ). I do need to get myself a new saddle (thinking of one of these swallow copies from velogear.com.au) and maybe some new cables but that should be about it.

Stephen

User avatar
uMP2k
Posts: 618
Joined: Mon Nov 27, 2006 6:22 pm
Location: Perth, Western Australia

small update!

Postby uMP2k » Mon Feb 09, 2009 4:23 pm

Well the missing parts of this puzzle are starting to come together.

The Campag dropout adjusters arrived on Friday, a second Nishiki headbadge should arrive from the US any day now (then I have to decide which one I want to use!) and I finally got around to ordering a Breza "Swallow" copy from Velogear. On top of that I am taking a week off work next week so now I might even have time to get it all together - no more excuses it seems :o

Stephen

User avatar
uMP2k
Posts: 618
Joined: Mon Nov 27, 2006 6:22 pm
Location: Perth, Western Australia

Postby uMP2k » Wed Feb 18, 2009 10:03 pm

Well there has finally been some progress on this project.

My new Chorus skeleton brakes arrived from Ribble in the UK (only 5 days from order to delivery - pretty impressive!) and my new leather saddle from Velogear. Thanks to some help from George (gclark8) I now have the main bearing parts (headset and BB) installed.

Image

Image

Click on links for bigger pictures

Tomorrow is scheduled for a big day getting the rest of the groupset off my Masil and onto the Repco. More updates to follow.

Stephen

kukamunga
Posts: 3540
Joined: Sat Dec 08, 2007 10:12 am
Location: 3166

Postby kukamunga » Thu Feb 19, 2009 1:25 am

Does that stem have a two-bolt removeable faceplate? My quest for one is mentioned here

User avatar
uMP2k
Posts: 618
Joined: Mon Nov 27, 2006 6:22 pm
Location: Perth, Western Australia

Postby uMP2k » Thu Feb 19, 2009 9:23 am

kukamunga wrote:Does that stem have a two-bolt removeable faceplate? My quest for one is mentioned here
Nope, I wish it did - now that I know such a thing exists I have to find one too!

Stephen

User avatar
uMP2k
Posts: 618
Joined: Mon Nov 27, 2006 6:22 pm
Location: Perth, Western Australia

Ventos - to de-sticker or not to de-sticker

Postby uMP2k » Thu Feb 19, 2009 10:03 am

Been trying to decide whether to remove the decals from the Vento wheels - any comments?

It is not really obivious in the pictures but they have already had at least the top few millimetres removed due to unoticed slippage of the brake pads down from the braking surface :oops:. Probably not really noticable to anyone not looking closely but I know it is there....

Stephen

User avatar
familyguy
Posts: 8397
Joined: Wed Apr 16, 2008 2:30 pm
Location: Willoughby, NSW

Re: Ventos - to de-sticker or not to de-sticker

Postby familyguy » Thu Feb 19, 2009 10:33 am

uMP2k wrote:Been trying to decide whether to remove the decals from the Vento wheels - any comments?

It is not really obivious in the pictures but they have already had at least the top few millimetres removed due to unoticed slippage of the brake pads down from the braking surface . Probably not really noticable to anyone not looking closely but I know it is there....
You're right, you can see it on the front wheel. While they're not as outrageous as some wheel stickers, I'd peel them off now.

Jim

MountGower

Postby MountGower » Thu Feb 19, 2009 10:28 pm

Leave the Vento decals on, unless you want to spend the rest of your life being asked if they're Ventos or not.

The stems you are looking for are the 3TTT Motus or the Evolution 2002 which I think is a Cinelli stem, but I'm not certain.

User avatar
uMP2k
Posts: 618
Joined: Mon Nov 27, 2006 6:22 pm
Location: Perth, Western Australia

Postby uMP2k » Mon Feb 23, 2009 12:14 am

Well - as is always the way this is taking longer than I thought :( - but I am almost there. have the derailleurs on, swapped over the handle bars for the 3tt ones off my Masil (stick with what i am used to!) and have attached the Nishiki badge (although I think it might not be quite centred...).

Now all I need to do is fit the chain, get some more bar tape (black?) and get the brakes and gears adjusted. Then, hopefully it will be ready to ride by the middle of the week. Dying to try out the Breva Saddle and those new Chorus brakes!

Oh yeah, almost forgot, getting the gears set up will involve threading that damn internal cable routing. Love the look, but a pain to do!


Image

Image

Click on links for bigger pictures

BTW - I have decided to leave the Vento stickers in place.

Stephen

User avatar
uMP2k
Posts: 618
Joined: Mon Nov 27, 2006 6:22 pm
Location: Perth, Western Australia

Postby uMP2k » Wed Mar 11, 2009 4:54 pm

Yes - you read right the Nishiki is on the road at last. Actually I have been riding it for a week and a bit now, but been too slack to post any pics.

Still some finishing touches to be made including some stickers by sharktamin and an new saddle (looks like the Brera one just does not agree with me, which is a pity because I really like the look of it!).

Anyway here it is at the moment:

Image

Image

Click on links for bigger pictures

Once I get it finished to my satisfaction ( :D ) I will be posting some updated ones in the bike gallery thread.

Stephen

Who is online

Users browsing this forum: No registered users